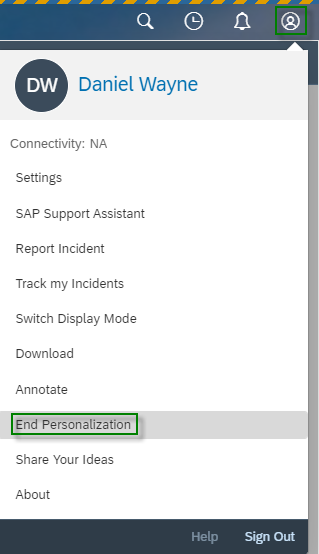
Every business-minded person finds their own unique way of doing their job best. To meet these needs, SAP Sales Cloud offers the possibility to design the system in your own unique way. The function is called: Personalization. To use this function click on your User Icon ![]() and then click on Start Personalization.
and then click on Start Personalization.

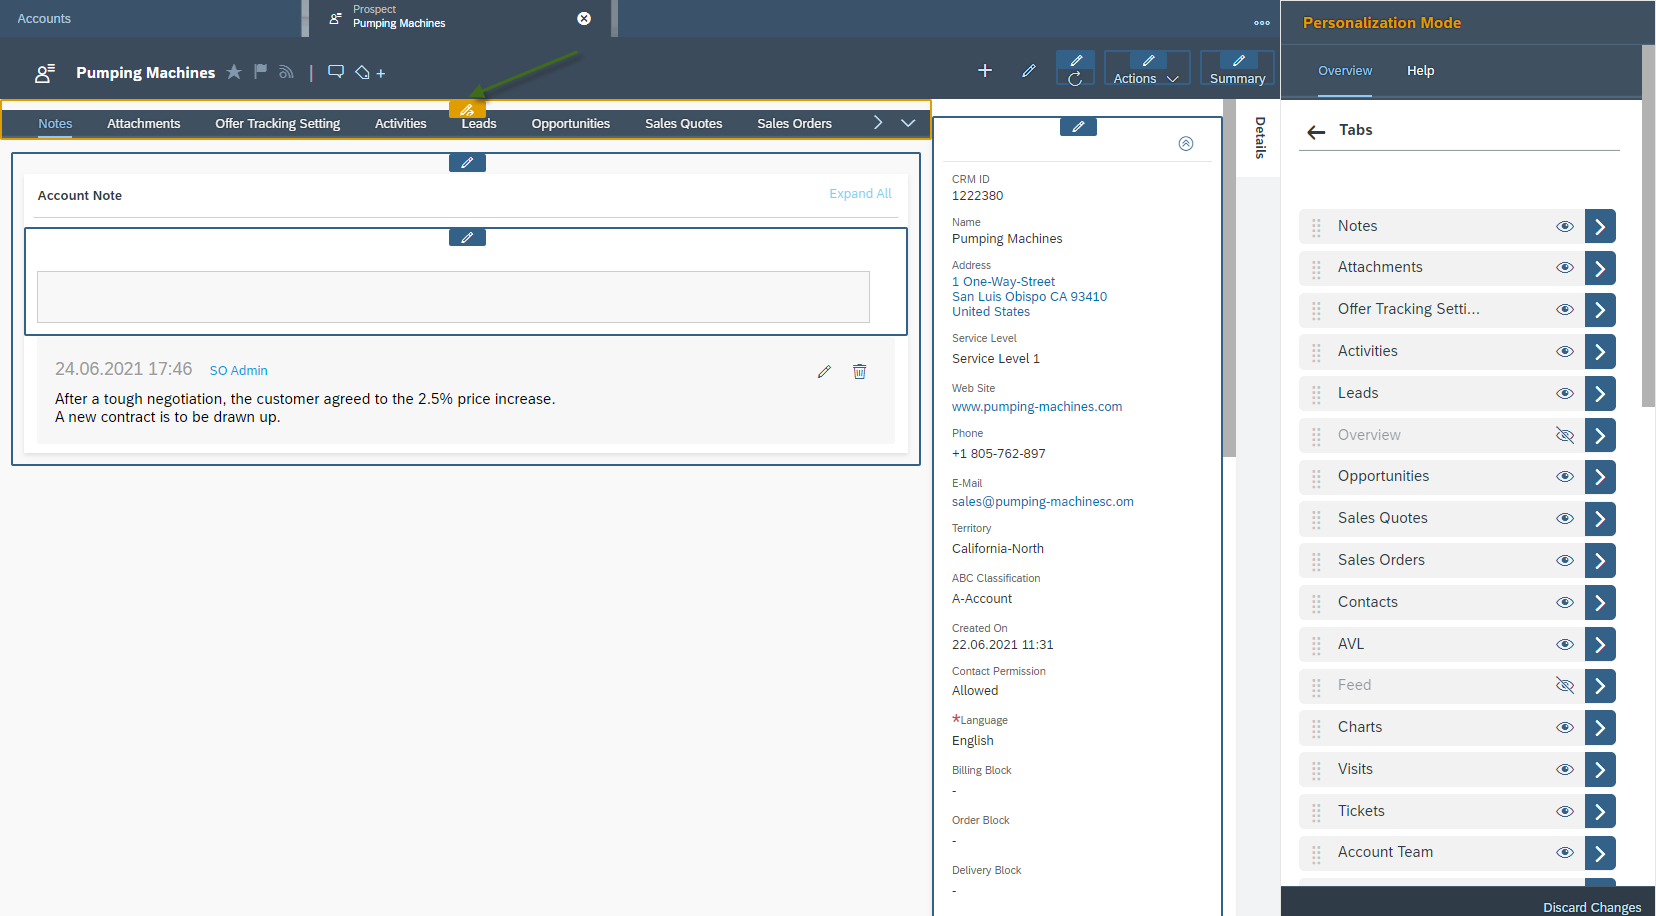
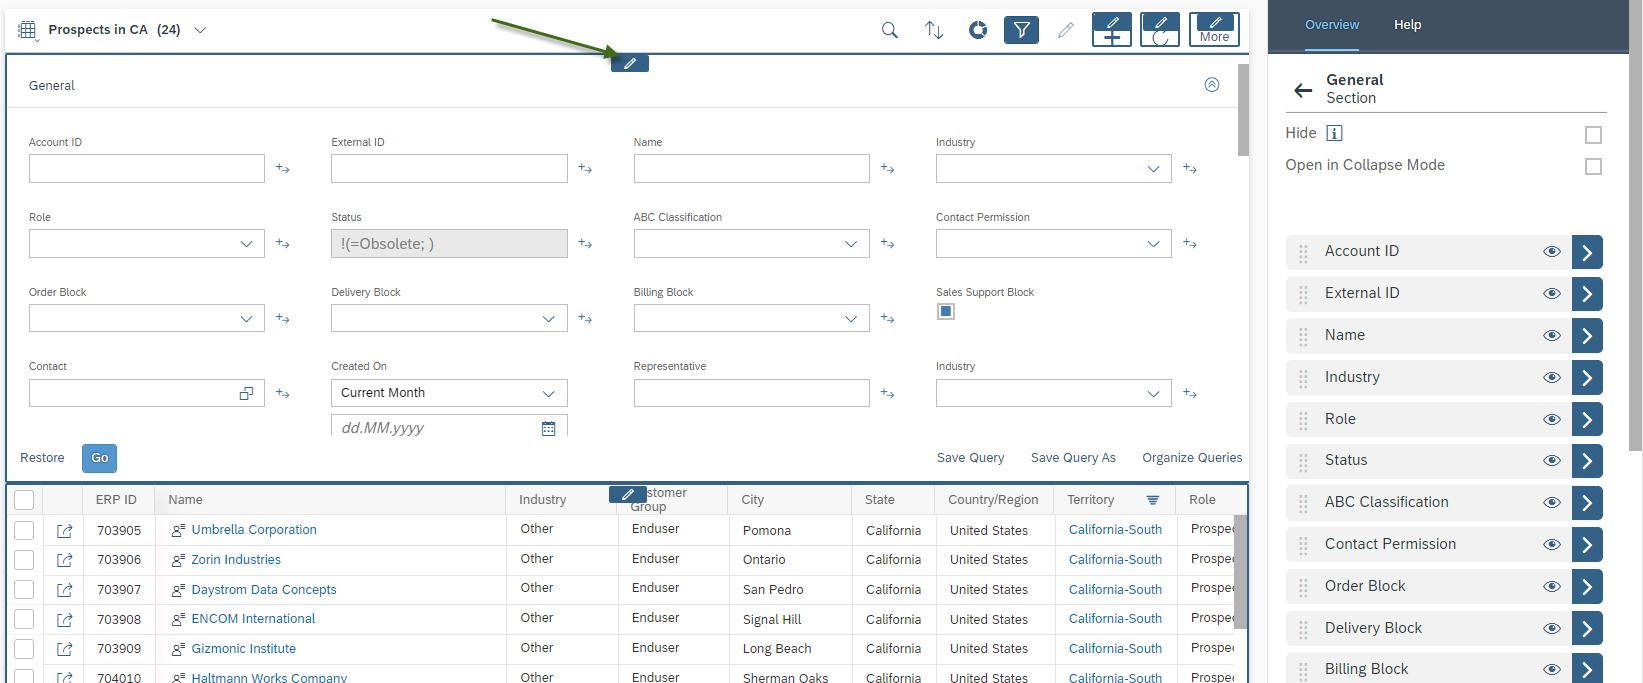
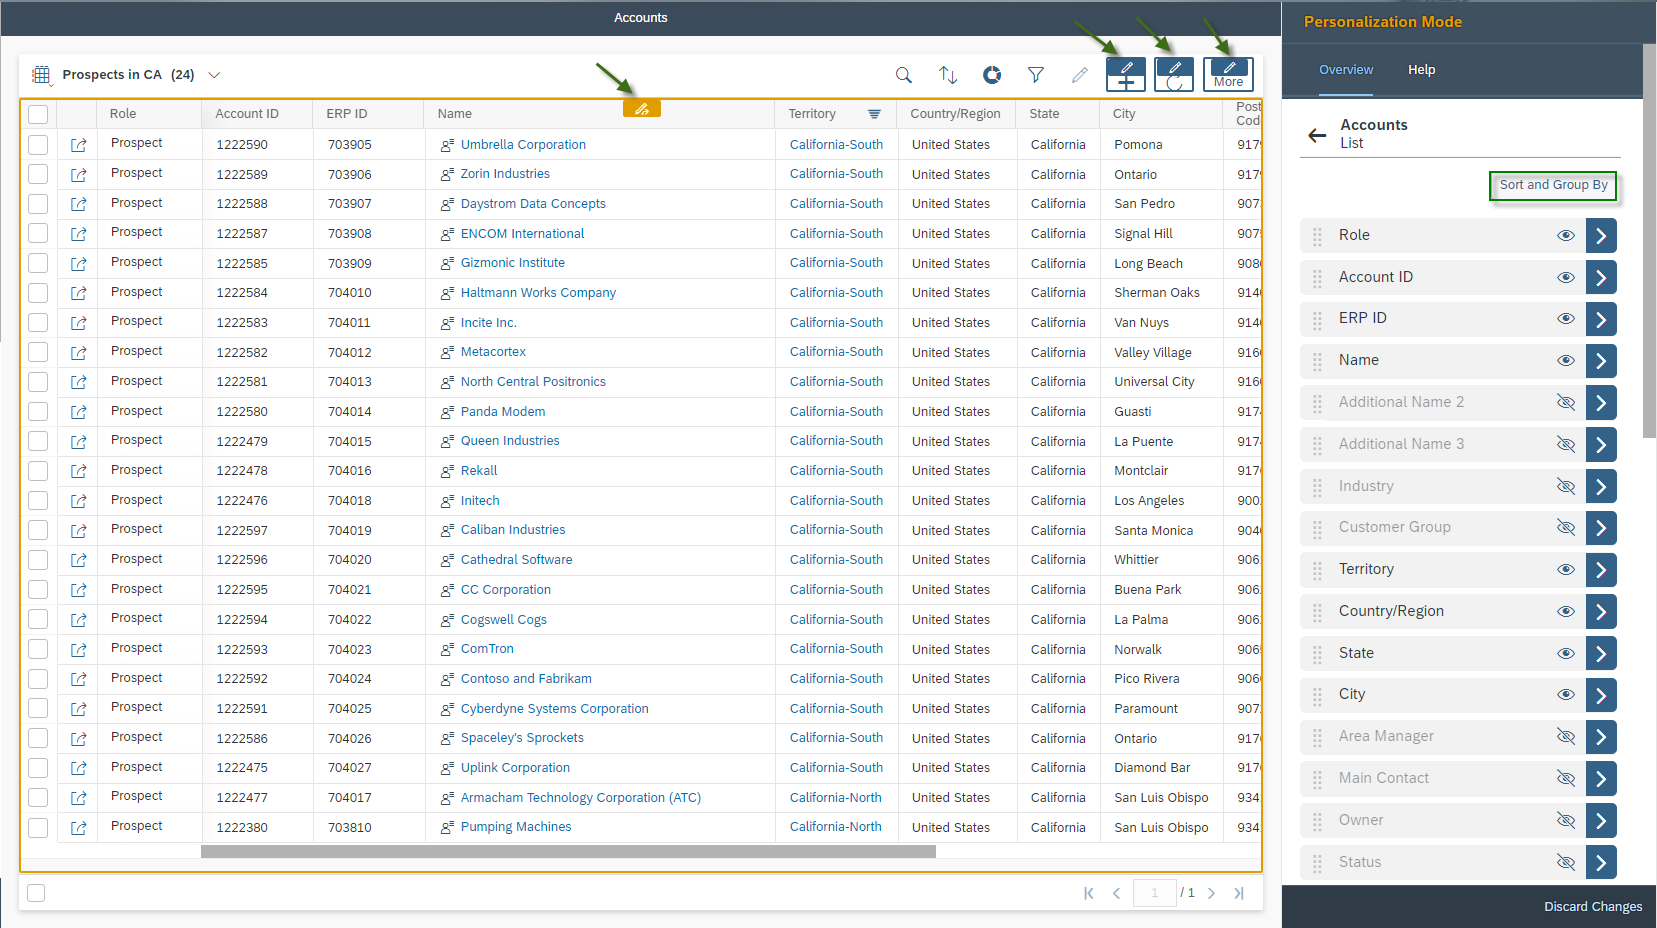
Personalization can be started by clicking on the Edit Button ![]() . If you click on the Edit Button of the tabular representation, the menu on the right side will adapt to it. The fields on the right side are either active (not grayed out and the eye icon is not crossed out
. If you click on the Edit Button of the tabular representation, the menu on the right side will adapt to it. The fields on the right side are either active (not grayed out and the eye icon is not crossed out ![]() ) or the fields are not active (grayed out and the eye icon is crossed out
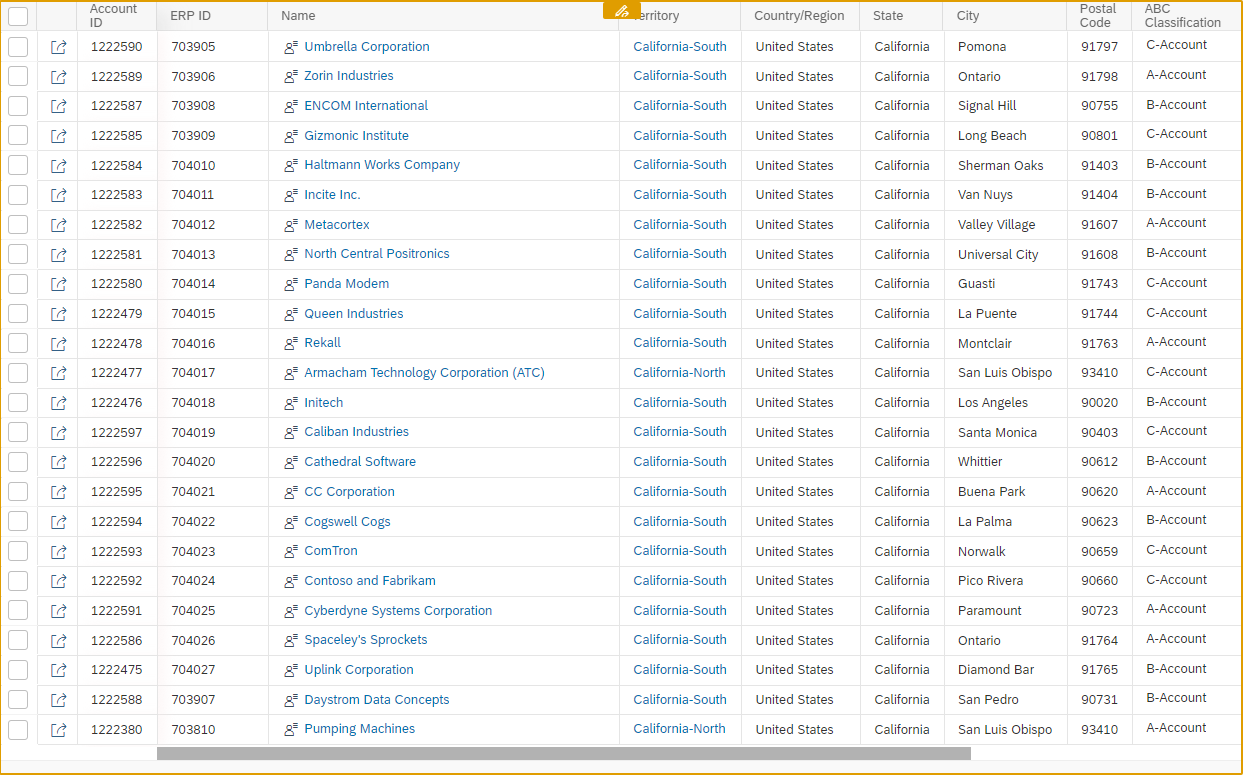
) or the fields are not active (grayed out and the eye icon is crossed out ![]() ). Only the active fields are visible in the table and in the order they are listed here from top to bottom, so they are arranged in the table from left to right. So you will see that Role, Account ID, ERP ID and Name are listed in the Personalization Mode from the top downwards, that this is also the order of the table from left to right. Since Additional Name 2, Additional Name 3, Industry, Customer Group are greyed out, the next active field – which is also displayed – is Territory.
). Only the active fields are visible in the table and in the order they are listed here from top to bottom, so they are arranged in the table from left to right. So you will see that Role, Account ID, ERP ID and Name are listed in the Personalization Mode from the top downwards, that this is also the order of the table from left to right. Since Additional Name 2, Additional Name 3, Industry, Customer Group are greyed out, the next active field – which is also displayed – is Territory.
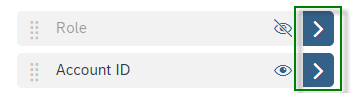
Hide a field by clicking on the Eye-Icon ![]()
Display a field by clicking on the Eye-Icon ![]()
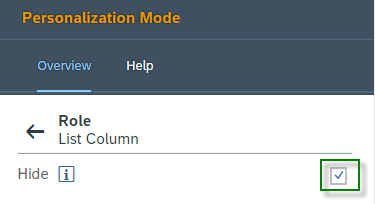
Showing and hiding fields can also be done using the Drill Down Icon ![]() . Here you have the possibility to activate or deactivate the Hide mode. Deactivating the Hide modus means, of course, showing.
. Here you have the possibility to activate or deactivate the Hide mode. Deactivating the Hide modus means, of course, showing.
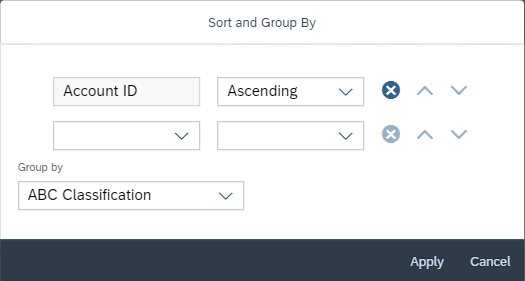
A second functionality that can be used in the Work Center View is sorting and grouping by clicking the Sort and Group By button in the Personalization Mode area on the top right corner. Here it is possible to sort by several characteristics. In this example it is the characteristic Account ID that is sorted in Ascending order. After each entry a new blank line is automatically added. A line can be removed by the Remove Button ![]() or moved up
or moved up ![]() and down
and down ![]() by the Sorting Icons.
by the Sorting Icons.
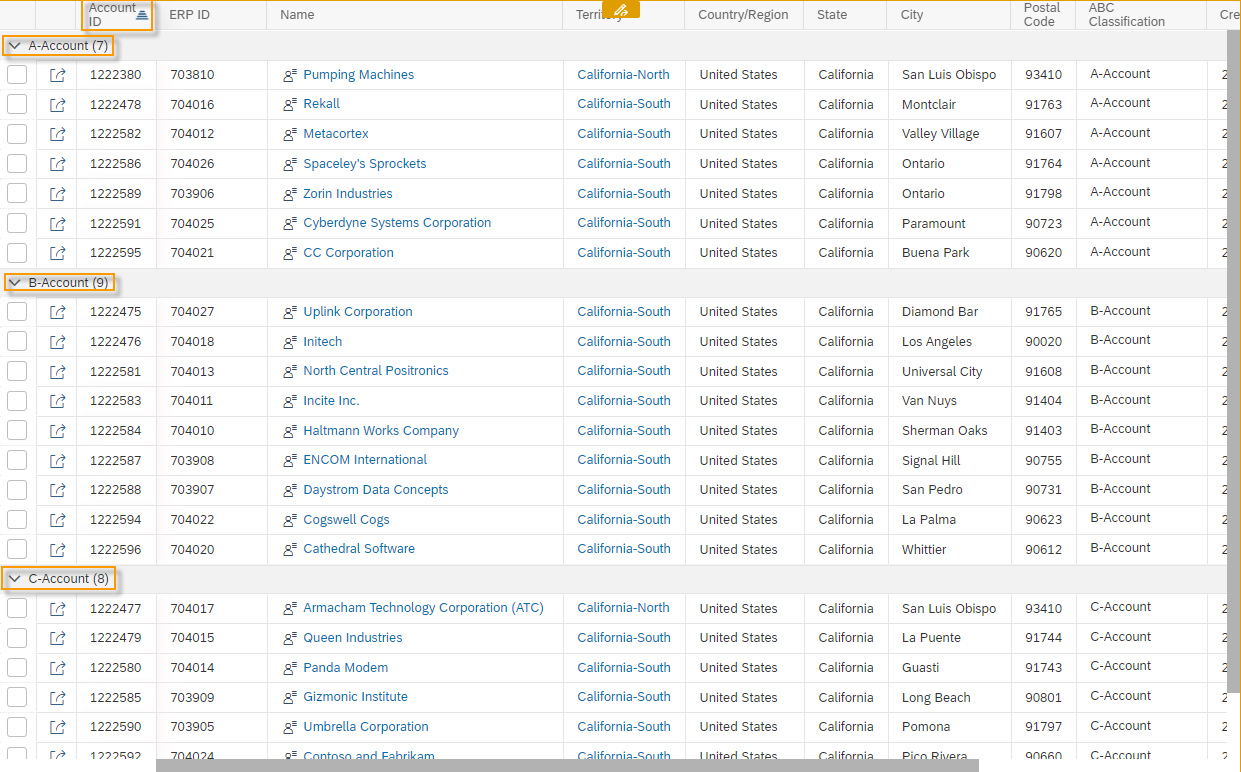

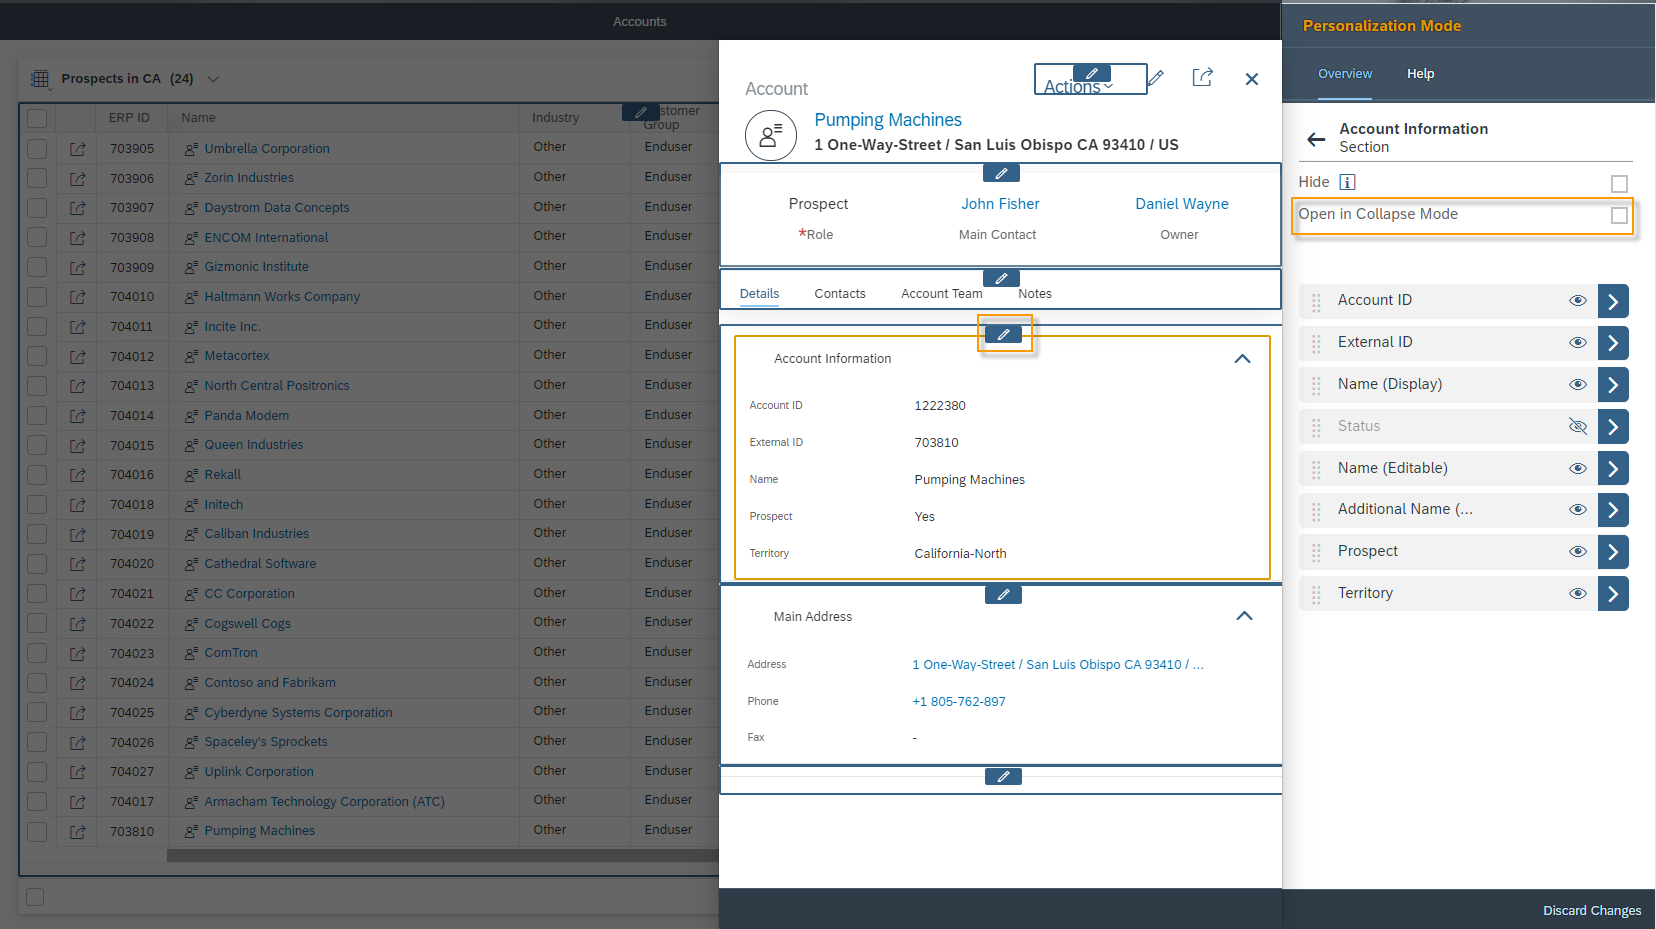
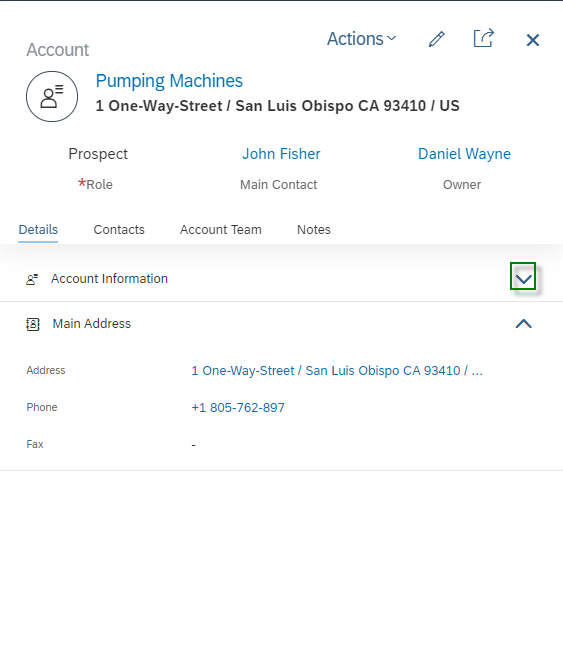
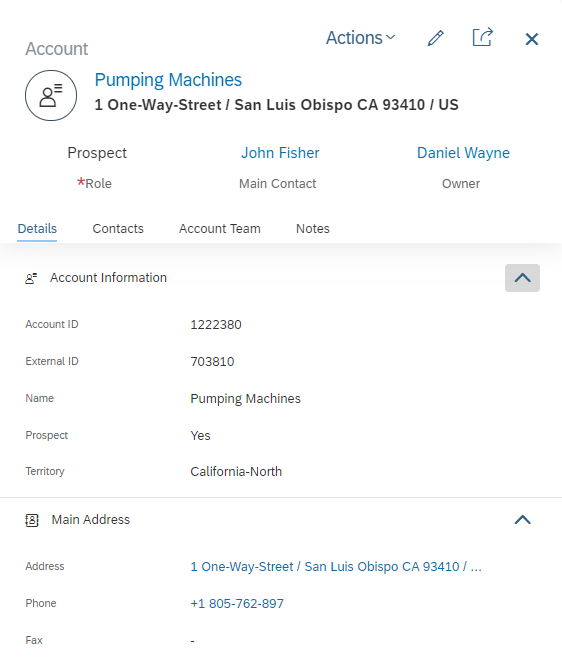
The following example shows what it looks like when you choose Collapse mode. It just means that the section is collapsed and you have to click on the Expand Icon ![]() to see the information – which are in this section. In this example shown, the collapsed section is the Account Information section.
to see the information – which are in this section. In this example shown, the collapsed section is the Account Information section.