Search
Close this search box.

Understand the Basics As A User – Editing

Understand The Basics as a User
Editing

If you are using SAP Sales Cloud as a User, it is essential that you understand the basics before you go into detail. Basically, it's important to understand how the Cloud is structured, how you can quickly find information - i.e. Search and Filter - how to personalize your information so that you can work with it perfectly and how to use the Feed function, Calendar and Messages.

Changing data can be done in several areas in the SAP Sales Cloud. Each brings different advantages.

First Area:                 Work Center View

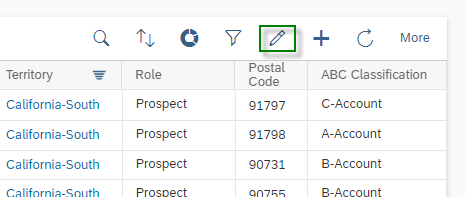
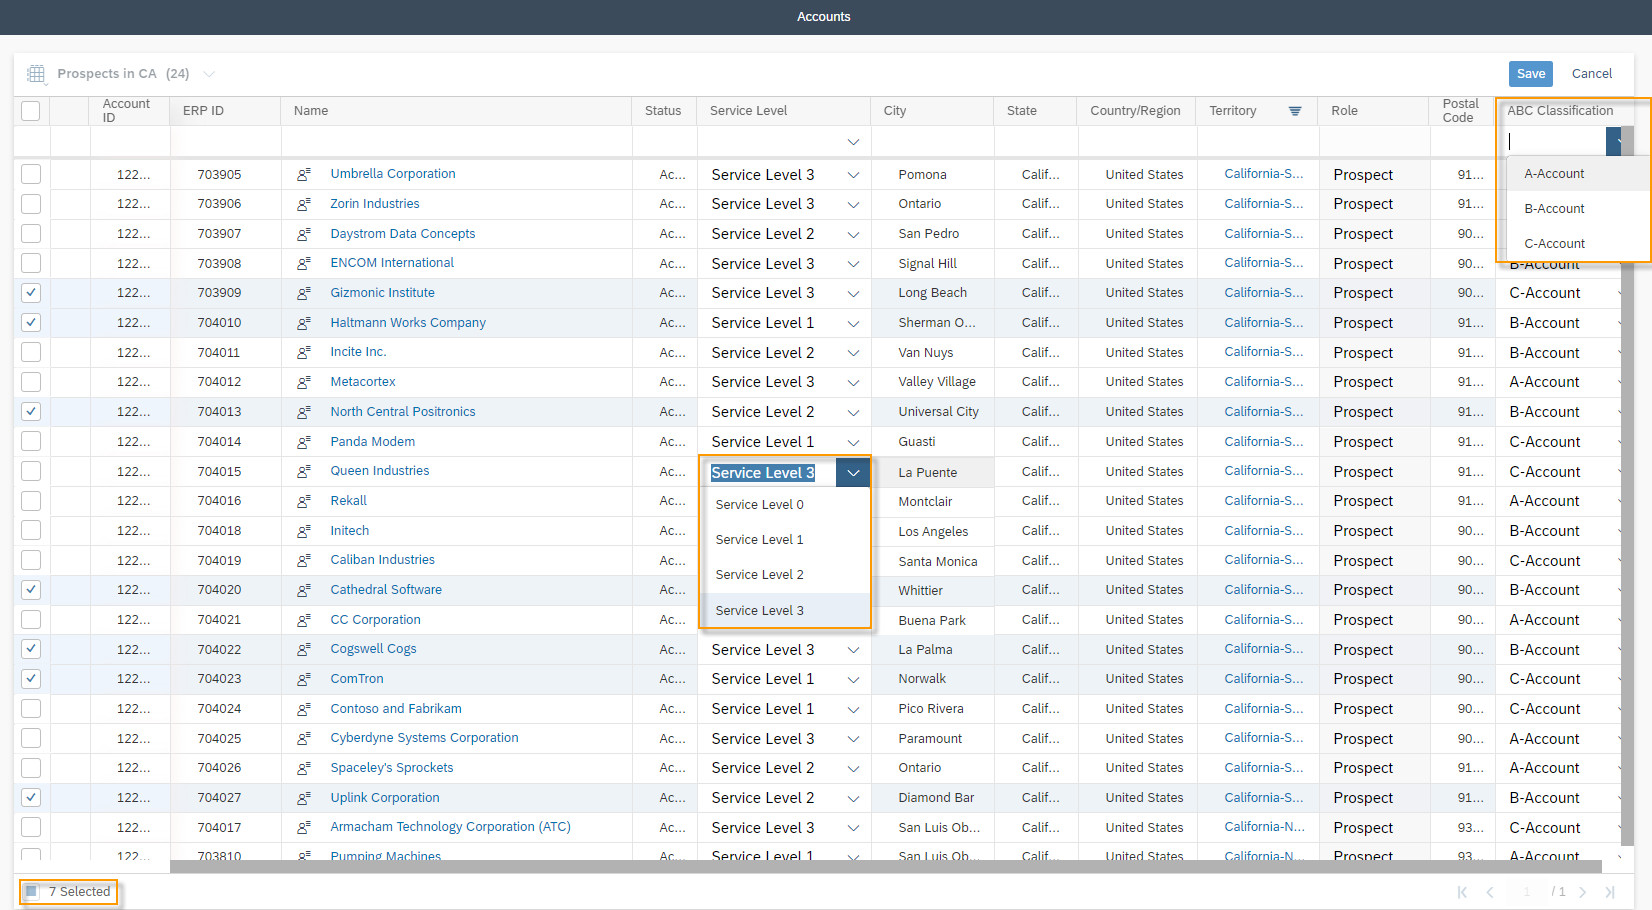
Editing of records can be started with the Edit Icon . In edit mode, a blank line is added as the first entry in the table. This is used so that several entries can be changed at the same time. This will be shown using the ABC Classification example in the figure below. Seven customers are selected – the selection takes place via the checkmark on the left side. At the bottom left you can always check how many entries have been selected – here: 7 Selected. Now you can modify the field in the empty line – which you want to change for all selected entries. In the example shown, all 7 accounts are to be changed as A-Account. At the same time, the change in the Work Center View also offers the advantage that several objects can be changed without always having to navigate to the Quick View or even into the Object itself. In this way, it is also possible – as shown – to change the Service Level from Service Level 3 to Service Level 1 for the customer Queen Industries quickly.

Second Area:                 Quick View

Third Area:                 Object

In the Quick View and in the Object itself it is also possible to start editing by clicking on the Edit Icon, but at the same time it is also possible to edit individual fields by hovering over the field to be changed and then clicking on the Edit Icon of this defined field. The example below shows this icon for the Web Site field.

Since the system is usually used by several Business Users at the same time, there is also a protection that several users cannot edit the same object at the same time. If you want to change something on an object that is already being edited by another user, you will receive the following error message:

Locking object not possible; object locked by #Name of Business User#

In SAP Sales Cloud, every change to an object is logged in detail. Every change can be traced by every user. Each object has a tab called Changes. Here you can always see exactly: Which User has made which change on which date and time. It is also recorded from which initial value to which value a characteristic was changed.

In principle, there are two different ways of displaying the Changes tab. The upper image shows a change log on the Account object. This log is displayed only on the Account and Contact Person. For all other objects in the SAP Sales Cloud, the screen applies – which is shown on the second figure. The second screen lists the User and the Date/Time in the first tabular display. You must now select the entry in the first table so that you can see in the second table which changes have been made. It is also important to know that the Changes tab does not show which parameters were selected when creating an object.

Another useful feature is that of the Last Selections. You can use this feature when editing or creating business objects for data fields of the Object Data Type. The last selections always show you the last five selections you made in this field. This feature is both business user and device dependent as well as mask dependent. Business user and device dependent because the information is stored locally in your browser cache. Mask-dependent means that the last selections for creating visits can be different from the last selections for editing a service ticket, because you make different selections here. The following figure shows the final selections for accounts when creating a visit in SAP Sales Cloud. To activate the feature, simply click on the data field – in this example, on Accounts. Now you can simply select one of the last customers and the information will be written into the field.

Here it is important to understand how the information of the Last Selections results. You have to search for keywords in the data field, e.g. as shown here for the Account ID. C4C will now suggest the results based on your keyword. Select the appropriate entry from this list – in the shown example the Account Rekall.

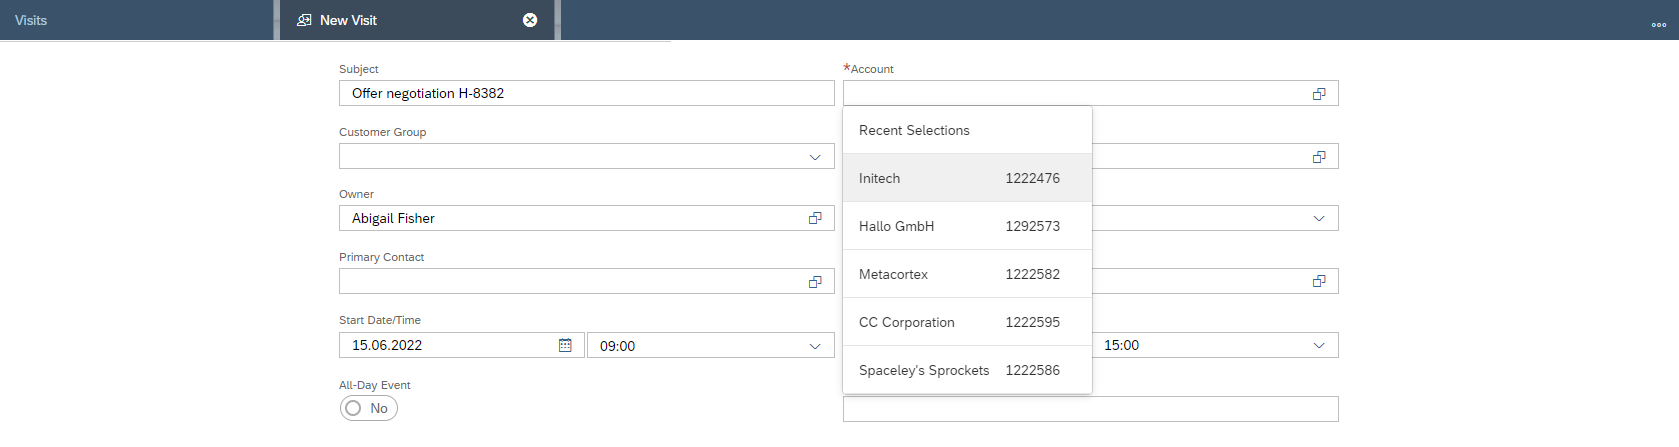
Now this entry is also activated for the Last Selections feature. If you go via the Advanced Search Button , the Last Selections feature is not addressed.

Do you need consulting from our experts?

The Customer Experience team at Camelot ITLab deals with exciting and challenging CRM related topics every day and serves a large portfolio of different customers from a wide range of industries. Trust in this collaboration and feel free to contact us at tlil@camelot-itlab.com.

Was this article helpful?

If you like our content we would highly appreciate your review on Trustpilot


#SAP C4C #SAP Cloud 4 Customer #Cloud 4 Customer #Cloud for Customer #Sales Cloud #Basics #Editing

Receive the latest news

Subscribe To our SAP Sales & Service Cloud Newsletter

Get notified about new articles