These templates contain field and code list mappings between the CSV files and the business objects of the SAP The information of a field describes a data input in a specific object. The Name of an Account is a field for example. Code lists are needed, when the datatype of a field is a list. This means, that only specific values are allowed.
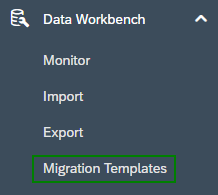
To get started head over to the Work Center View Migration Templates in the Data Workbench Work Center.
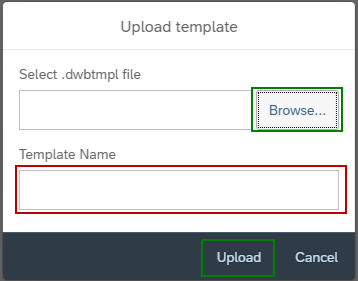
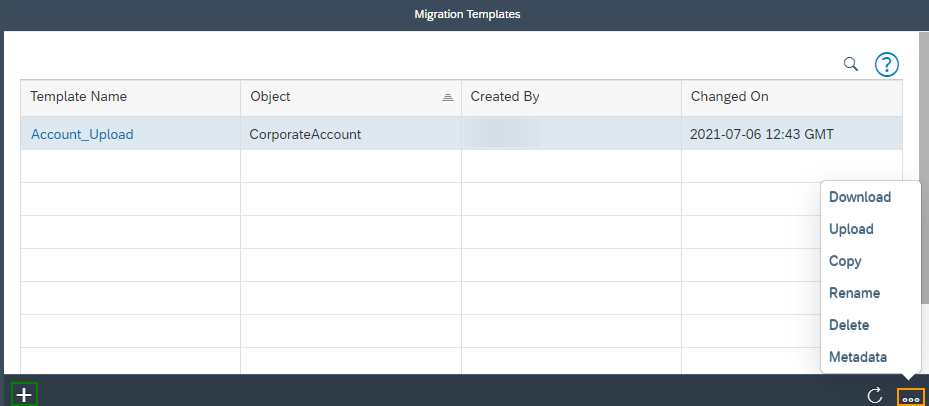
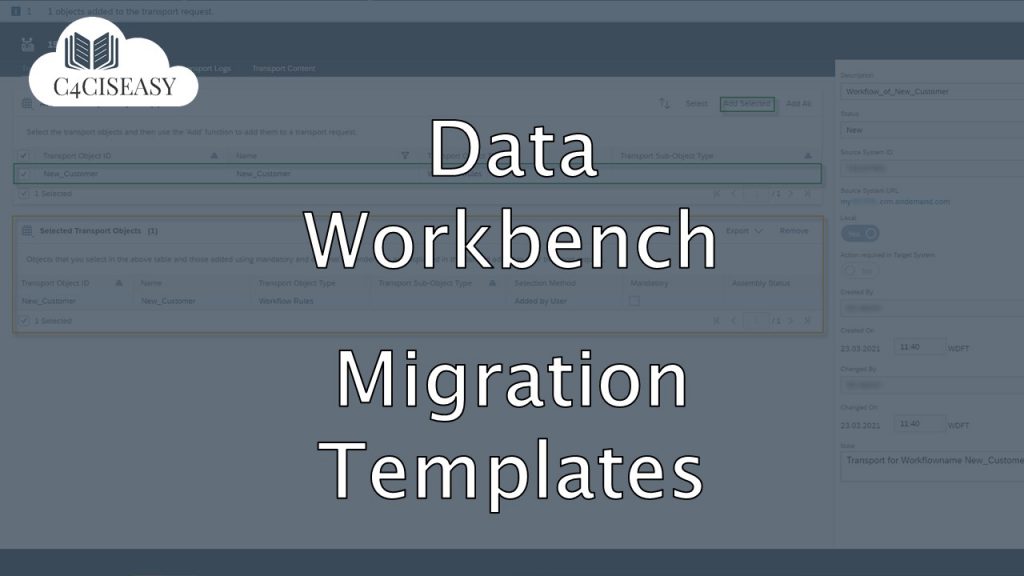
In the following screen these templates can be created, updated, copied, renamed, deleted, up- and downloaded. Please note that with the upload function not any CSV files can be uploaded as templates. Its purpose is to transfer migration templates from one system to another and a very specific format (.dwbtmpl) is required to use this function.
An example for this would be, that a template, which has been downloaded from the testing system, can be uploaded in the productive system by using the upload function.
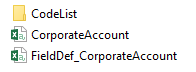
By clicking on Metadata a ZIP folder will be downloaded, which contains a folder with Code Lists, a file with the header of the template and a definition file. This function can be very helpful when trying to understand an unknown template.
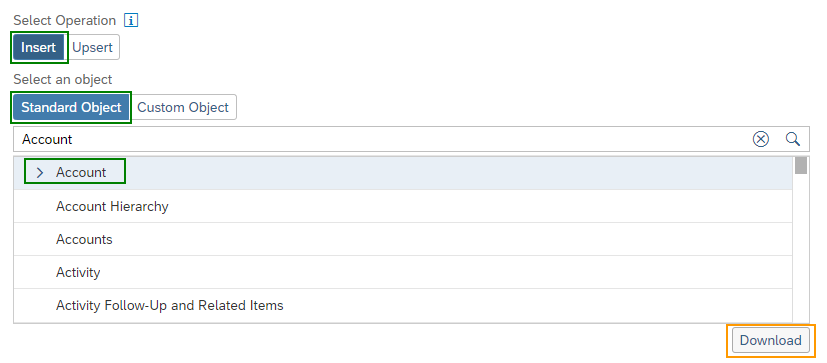
To create a new template from scratch click the + Icon in the bottom left. The next screen is very similar to the one from the Import Work Center View and the process is pretty much the same too. First an Operation must be selected:
Insert: Data with new external keys is created; existing data is rejected
Upsert: Data with new external keys is created; existing data is updated
The default option here is Insert, which is suitable in most cases.
Next up select the object, e.g. Account. When clicking on download again a ZIP folder will be downloaded, containing a code list folder, a template (for the specific object) and a file with field definitions.
Next upload the CSV. It makes no difference here, if it only contains a header or also some records. Files previously used for uploads can be used here to create a template.
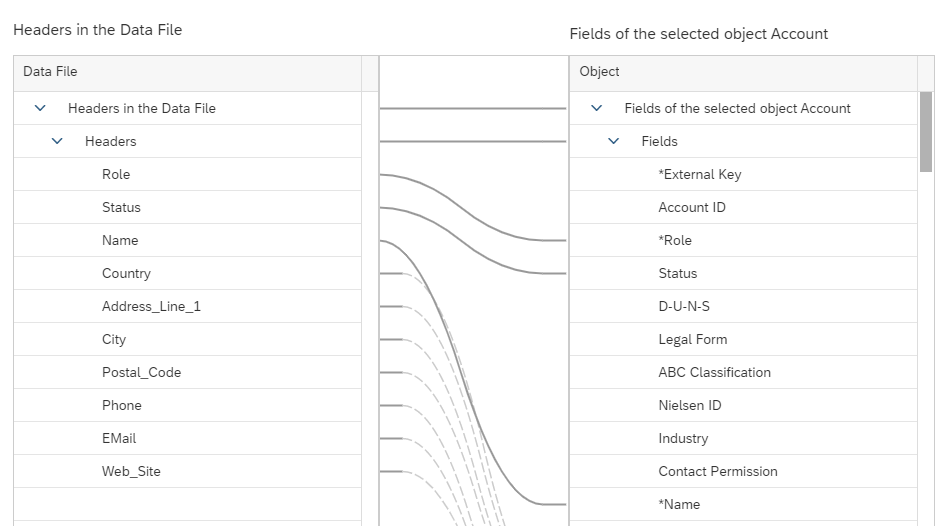
Then the mapping must be maintained, which works the same way as for the Import process. Connect the fields from the header of the CSV file with the corresponding fields of the object from the Sales Cloud and move forward.
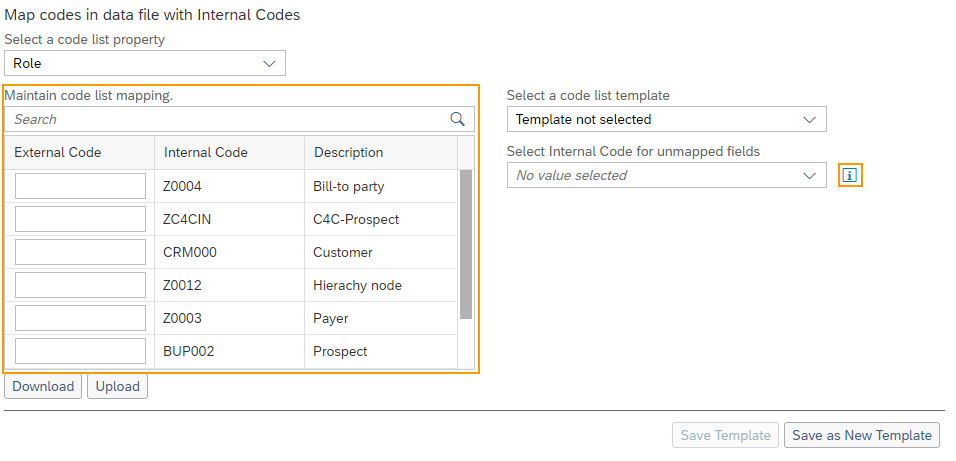
If needed, edit the code list mapping. Existing code list templates may be used here under Select a code list template. In case no specific mapping has to be made simply skip this screen.
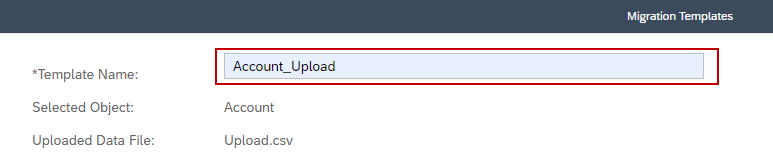
To finish the creation give the template a name (or just leave the auto-generated one) and hit the create button. The template can now be found in the overview table.
To use a template in the Import Section of the Data Workbench, navigate to the Work Center View Import.
Do you need consulting from our experts?
The Customer Experience team at Camelot ITLab deals with exciting and challenging CRM related topics every day and serves a large portfolio of different customers from a wide range of industries. Trust in this collaboration and feel free to contact us at tlil@camelot-itlab.com.
Was this article helpful?
If you like our content we would highly appreciate your review on Trustpilot