


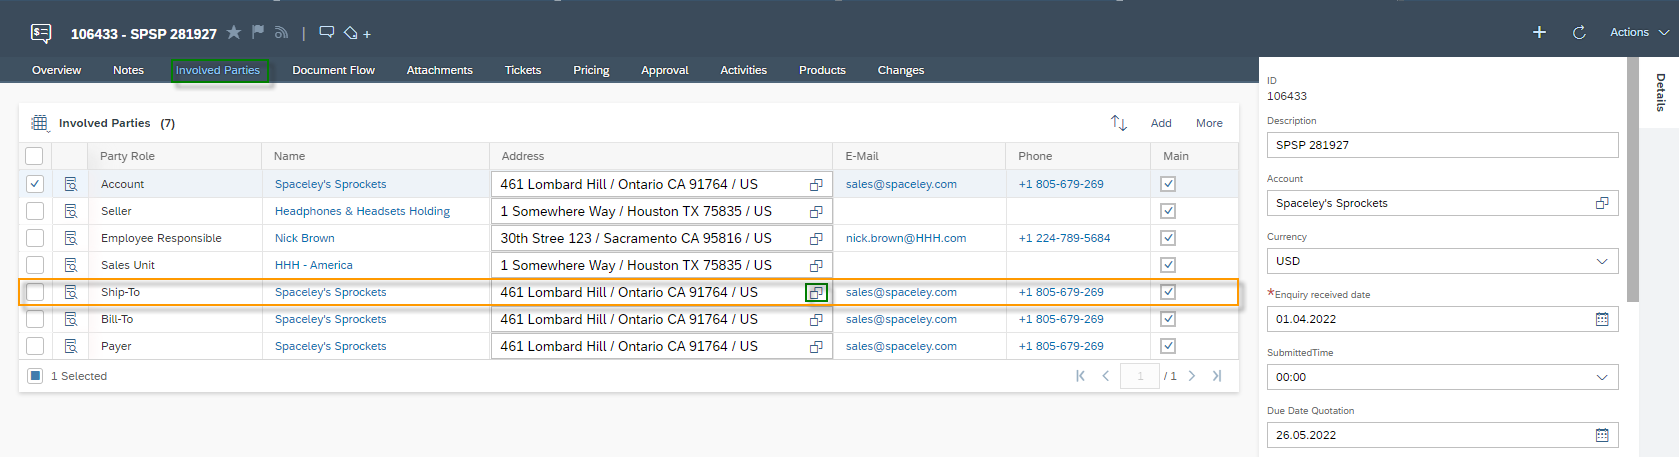
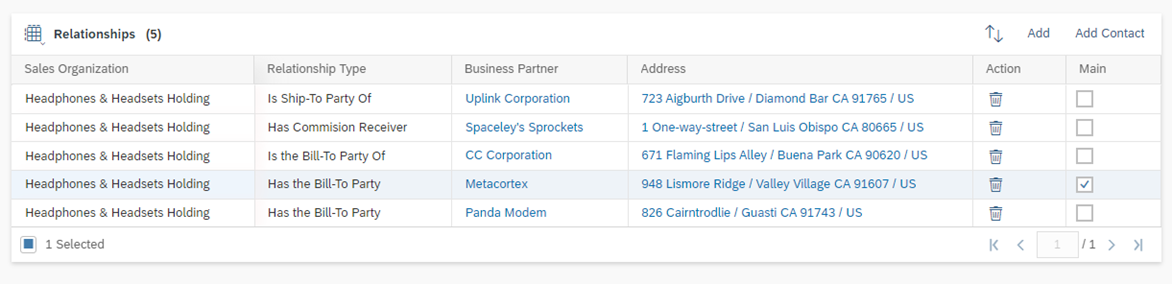
The business user can select any address of a business partner in each business object under the Involved Parties tab. In the example shown below, the address of the Ship-to can be easily adjusted using the Selection Icon ![]() .
.
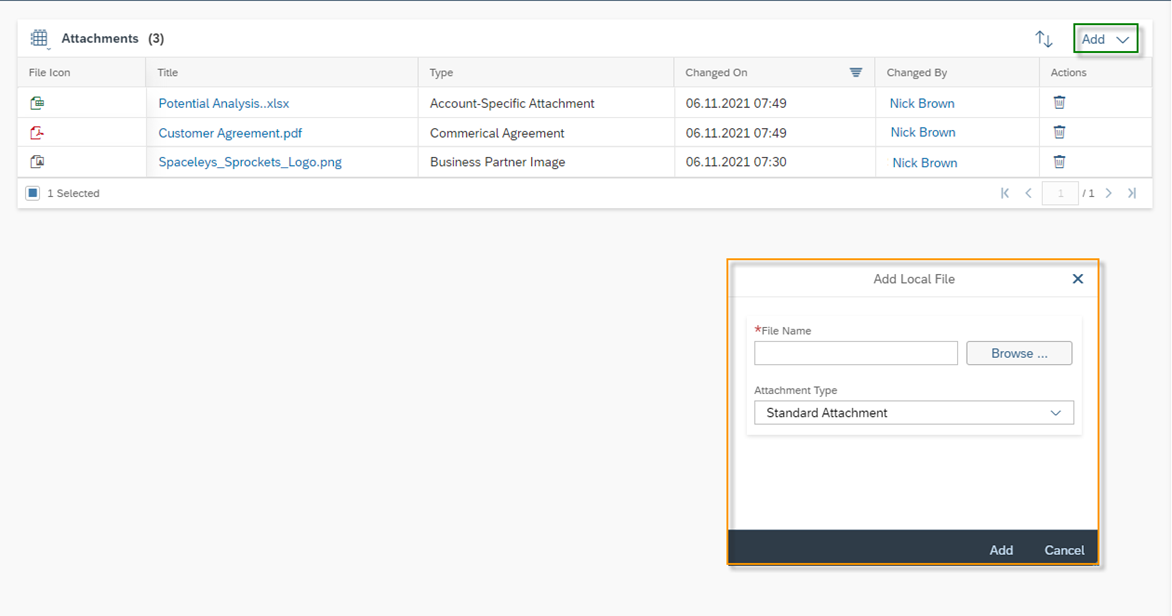
Attachments
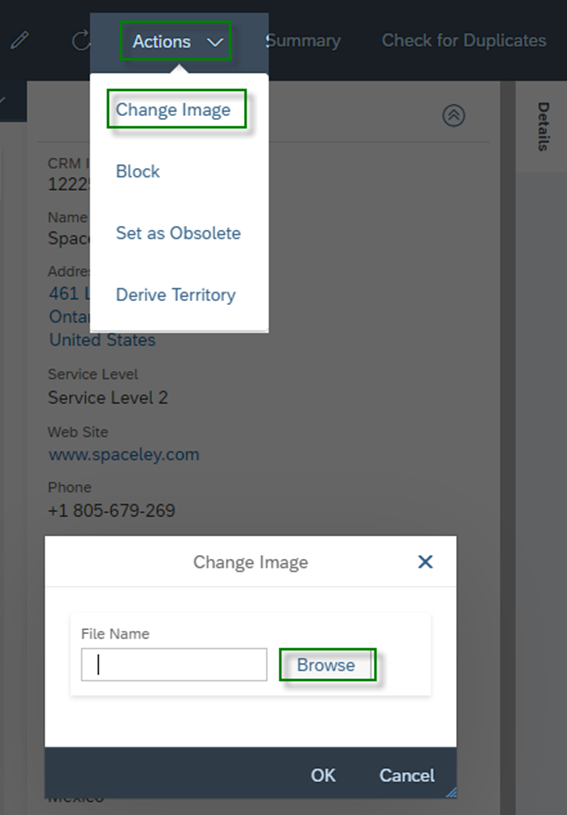
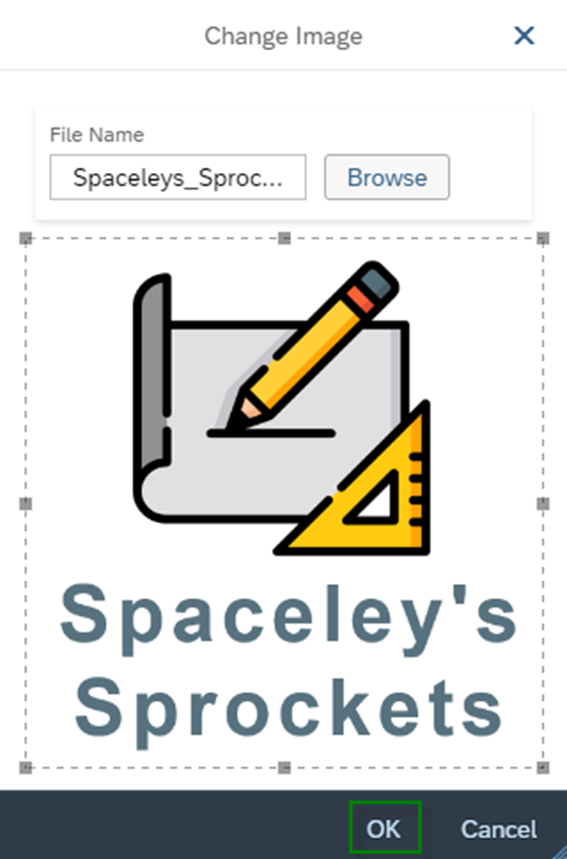
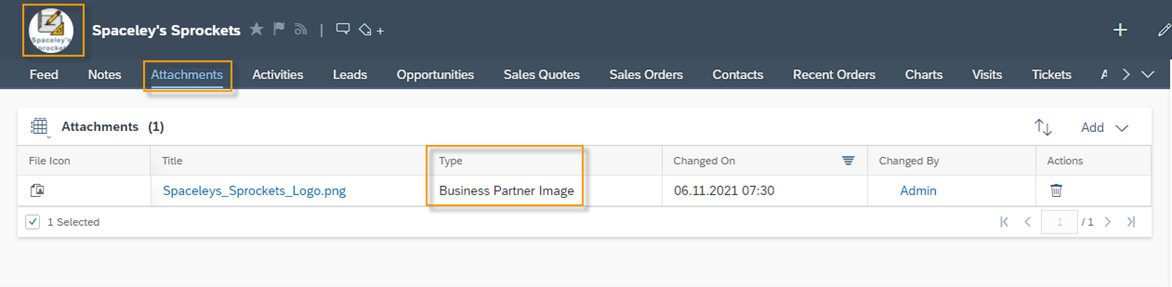
In the Attachments tab, various attachments can be attached to the customer. For example: contracts, customer images and other information necessary for your business. You can always see who last uploaded the attachment and thus immediately see how up to date the attachment still is. To upload an attachment, click on the Add button, then select a file via Browse… Button and confirm with OK. Afterwards you have to Save the business object customer. Attachments cannot be updated as in Google OneDrive, for this you have to remove the old file via the Action ![]() button and then upload it again.
button and then upload it again.
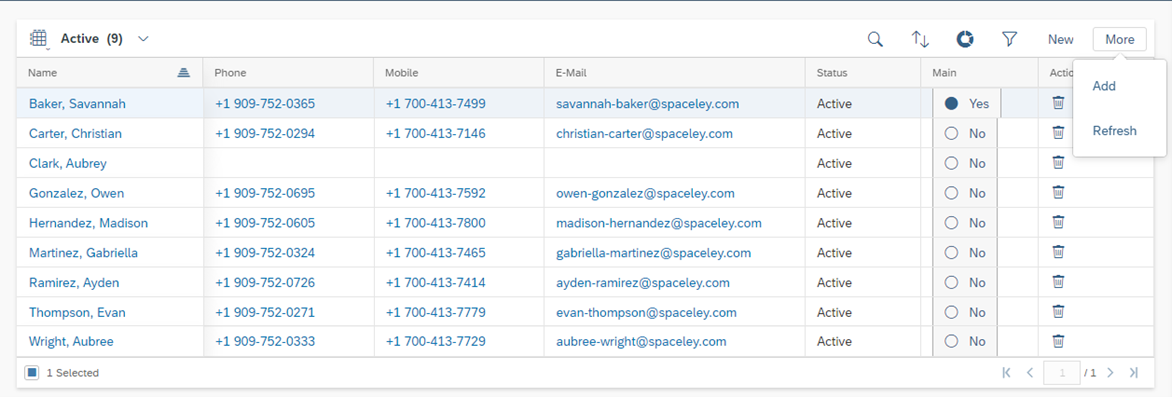
Contacts
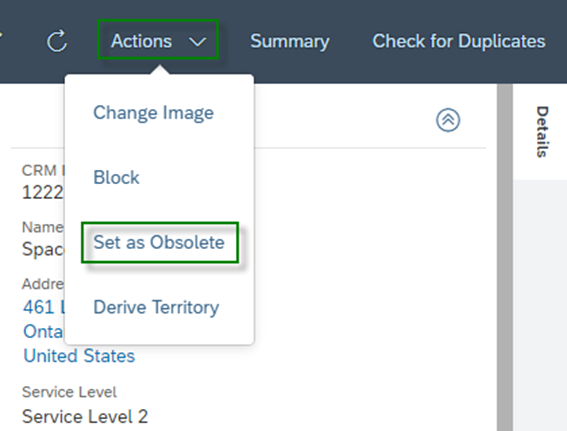
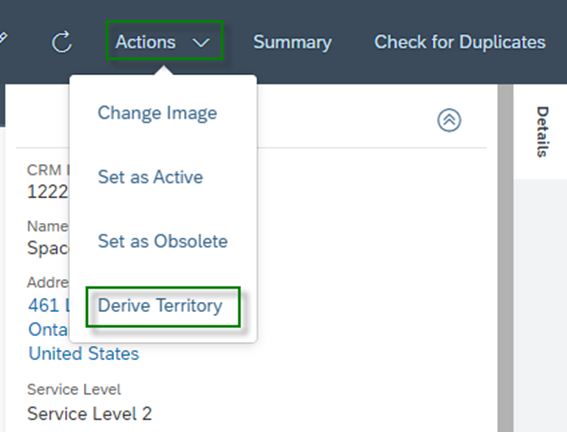
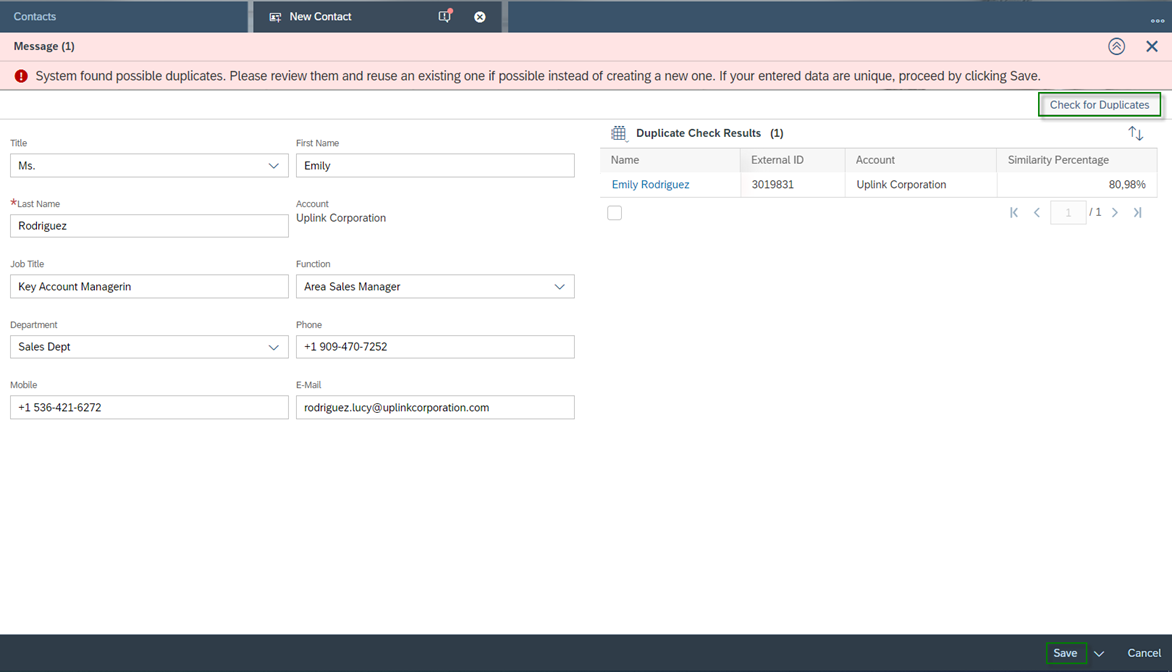
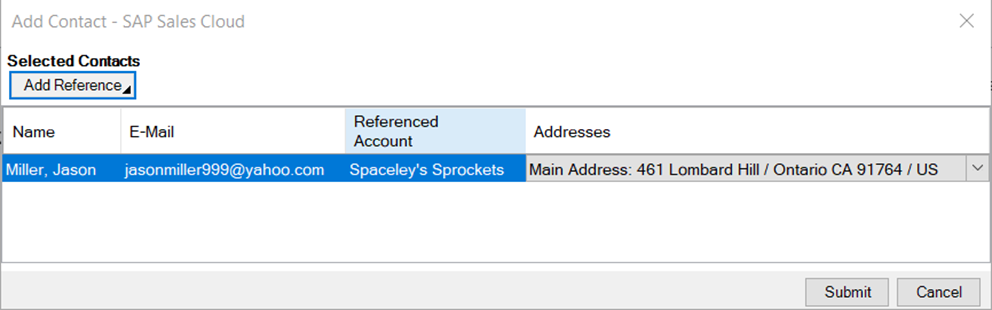
In the Contacts tab you will find a list of all contact persons of this customer. You can customize a Main contact person here and remove contact persons from these customers using the Actions ![]() button. It is also possible to create New contact persons for this customer or assign an already existing contact person to this customer via More and Add. You can learn more about these functions in the Contacts chapter.
button. It is also possible to create New contact persons for this customer or assign an already existing contact person to this customer via More and Add. You can learn more about these functions in the Contacts chapter.

Notes
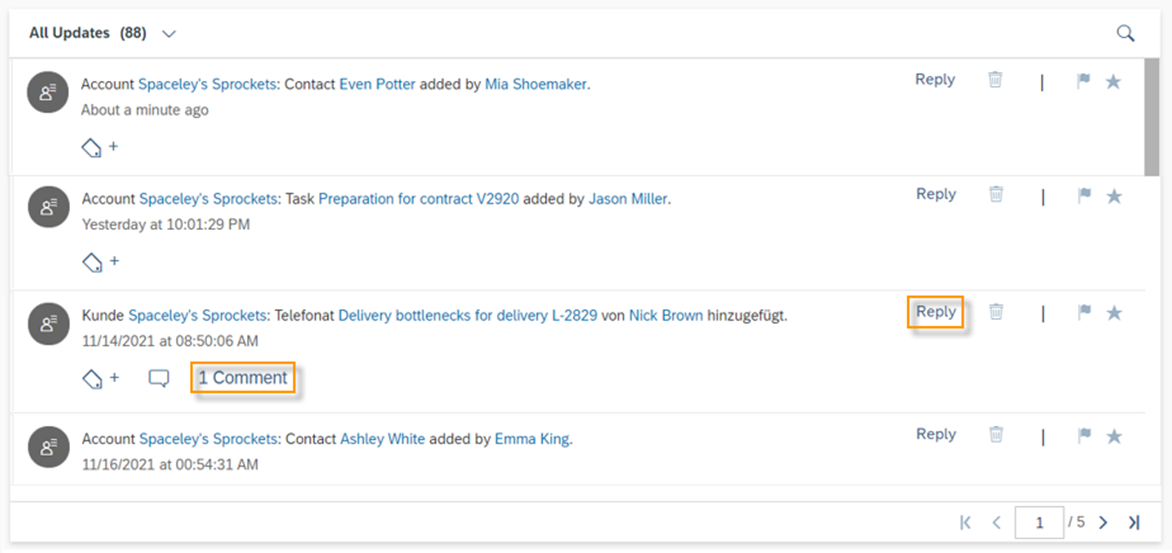
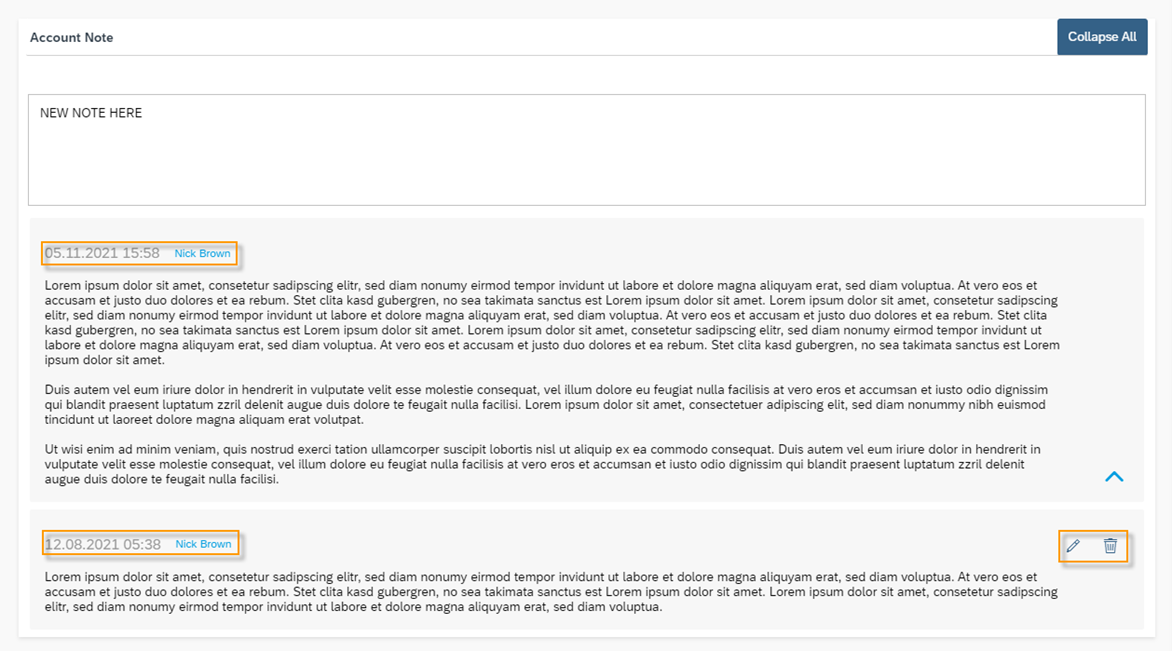
The notes are used to log important additional information about the Customer. The notes are recorded chronologically from the most recent in descending order. A note can only be edited ![]() or deleted
or deleted ![]() by its author. To create a new note, the upper text field is used. The timestamp and user are automatically added to the note.
by its author. To create a new note, the upper text field is used. The timestamp and user are automatically added to the note.


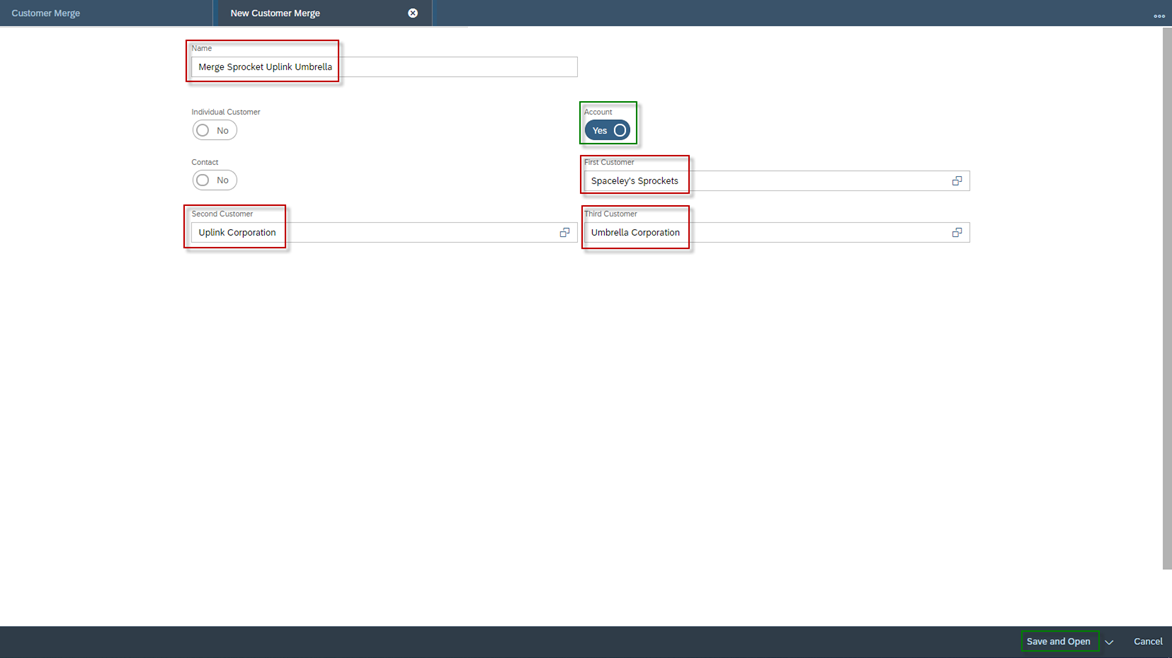
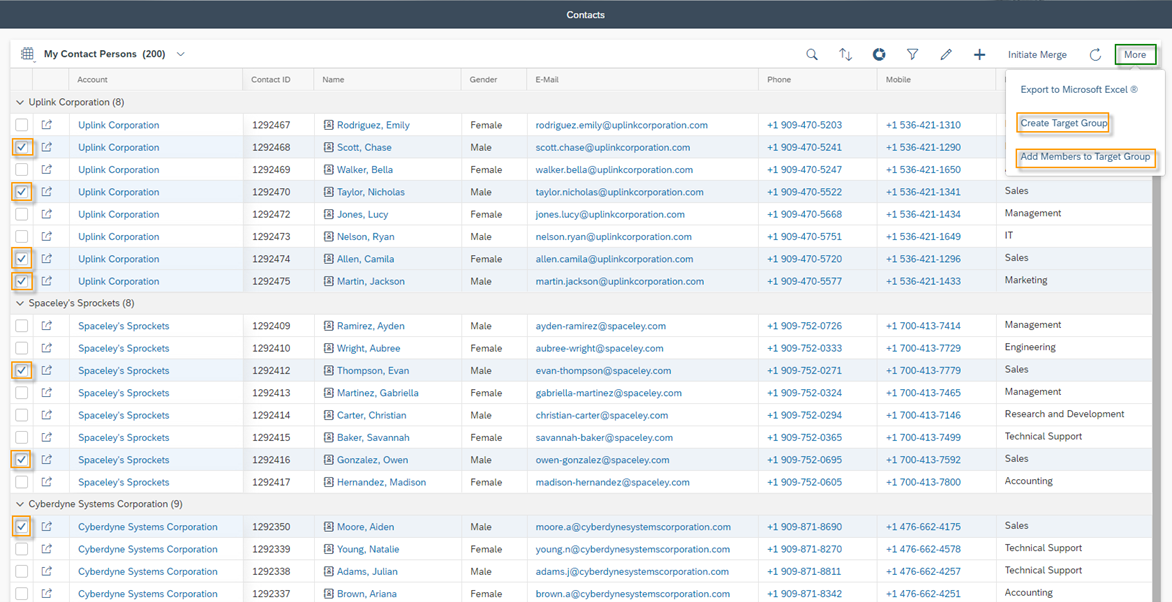
From this Work Center View, you can initiate a new customer merge using the Create ![]() icon. Assign a Name and select the business object you want to merge. In this case Account. Now you can merge up to three customers. Select the Customer in the respective field. Confirm afterwards with Save and Open.
icon. Assign a Name and select the business object you want to merge. In this case Account. Now you can merge up to three customers. Select the Customer in the respective field. Confirm afterwards with Save and Open.


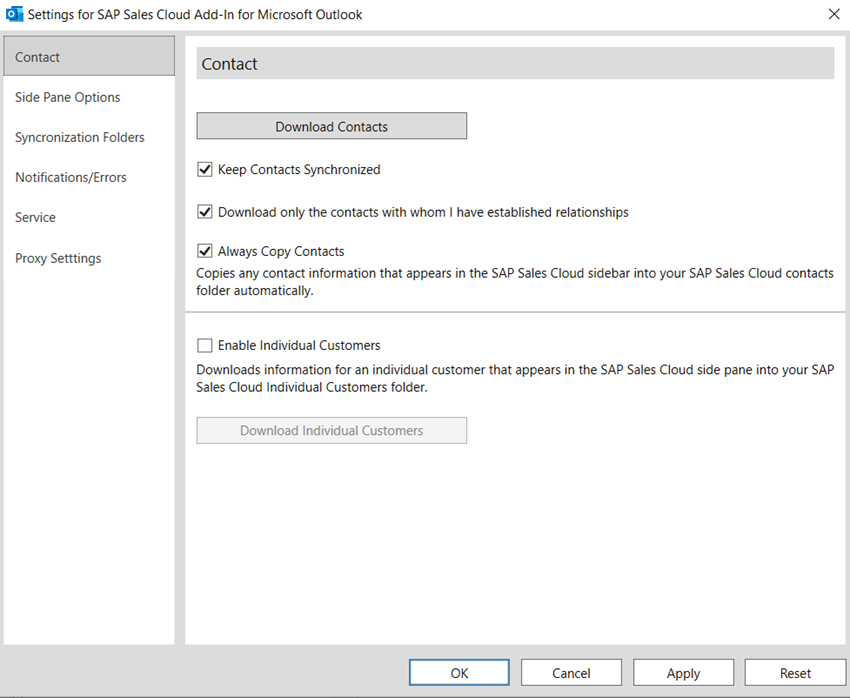
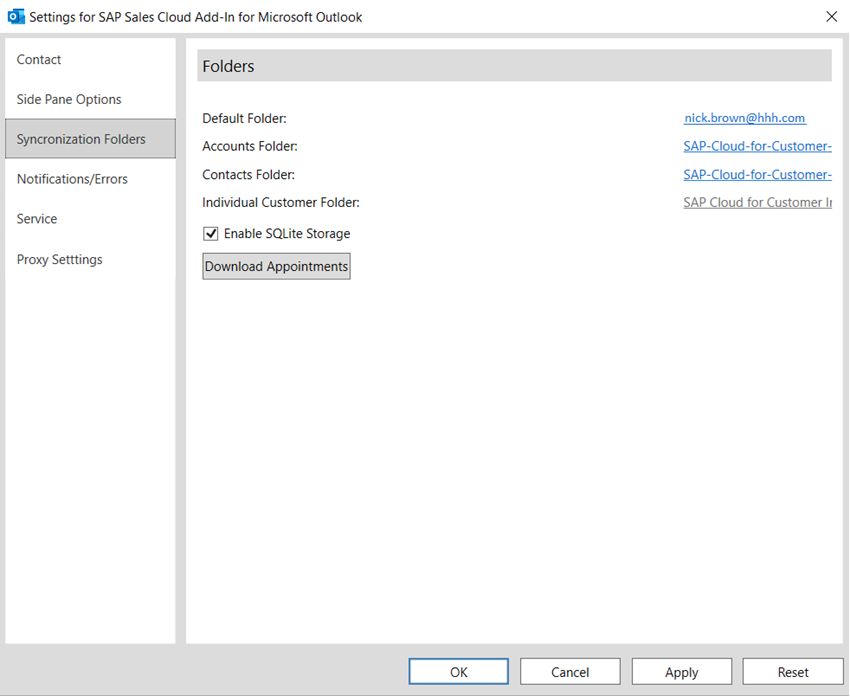
To set the synchronization settings for Customers and Contact Persons, click on the Settings Button ![]() in the SAP Sales Cloud Ribbon in your Outlook. In the first tab Contact set which and how the contact persons are synchronized. The following properties are available for this purpose:
in the SAP Sales Cloud Ribbon in your Outlook. In the first tab Contact set which and how the contact persons are synchronized. The following properties are available for this purpose:
- Keep Contacts Synchronized
The Download Contacts button initially downloads the Contact Persons from SAP Sales Cloud to your Outlook Application. This is a one-time download, and your contacts will only be automatically updated between the two systems if you enable the Keep Contacts Synchronized option
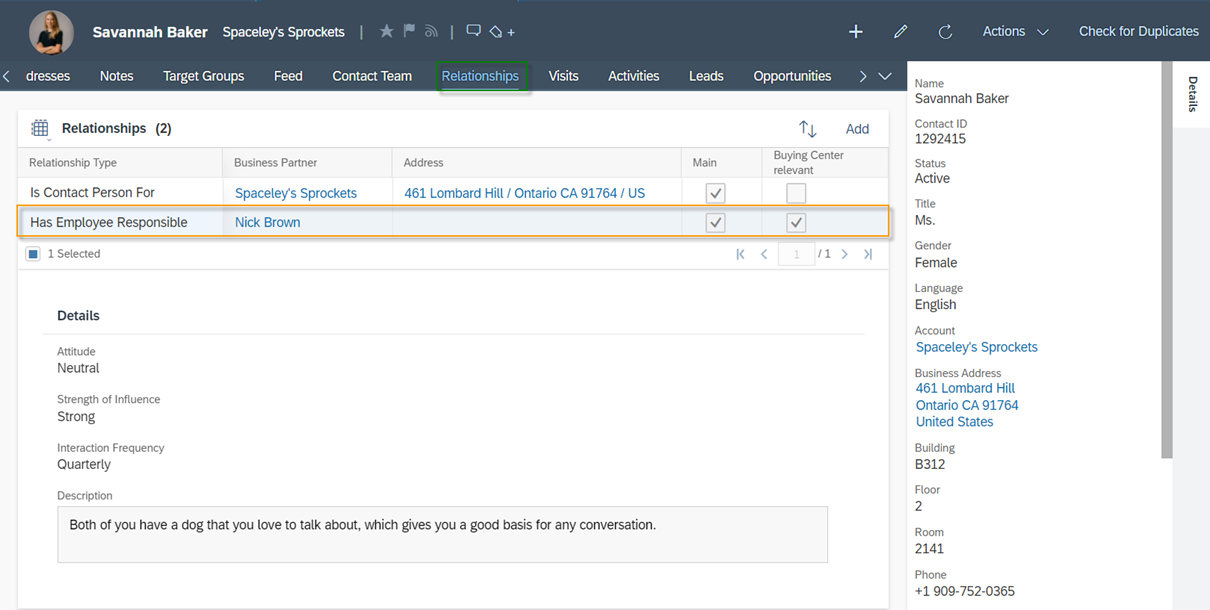
- Download only the contacts with whom I have established relationship
Outlook uses by default the query My Contacts. You find this query in the Work Center View Contacts. In this query all contact persons of the customers for whom you are entered as the responsible employee are displayed. The option Download only the contacts with whom I have established a relationship enables synchronization of the contacts with whom you have a relationship in SAP Sales Cloud. This is done in the Relationship tab of each contact:


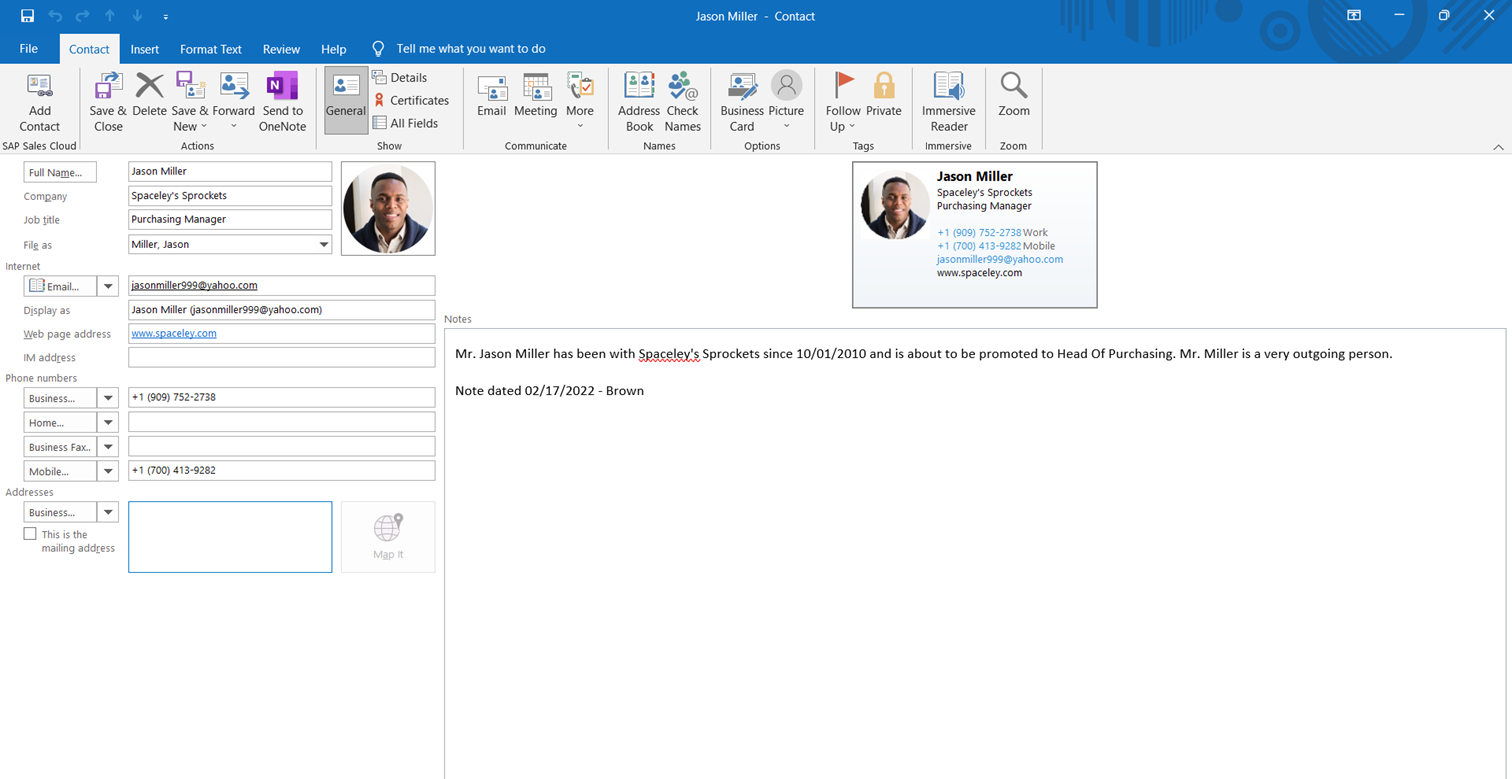


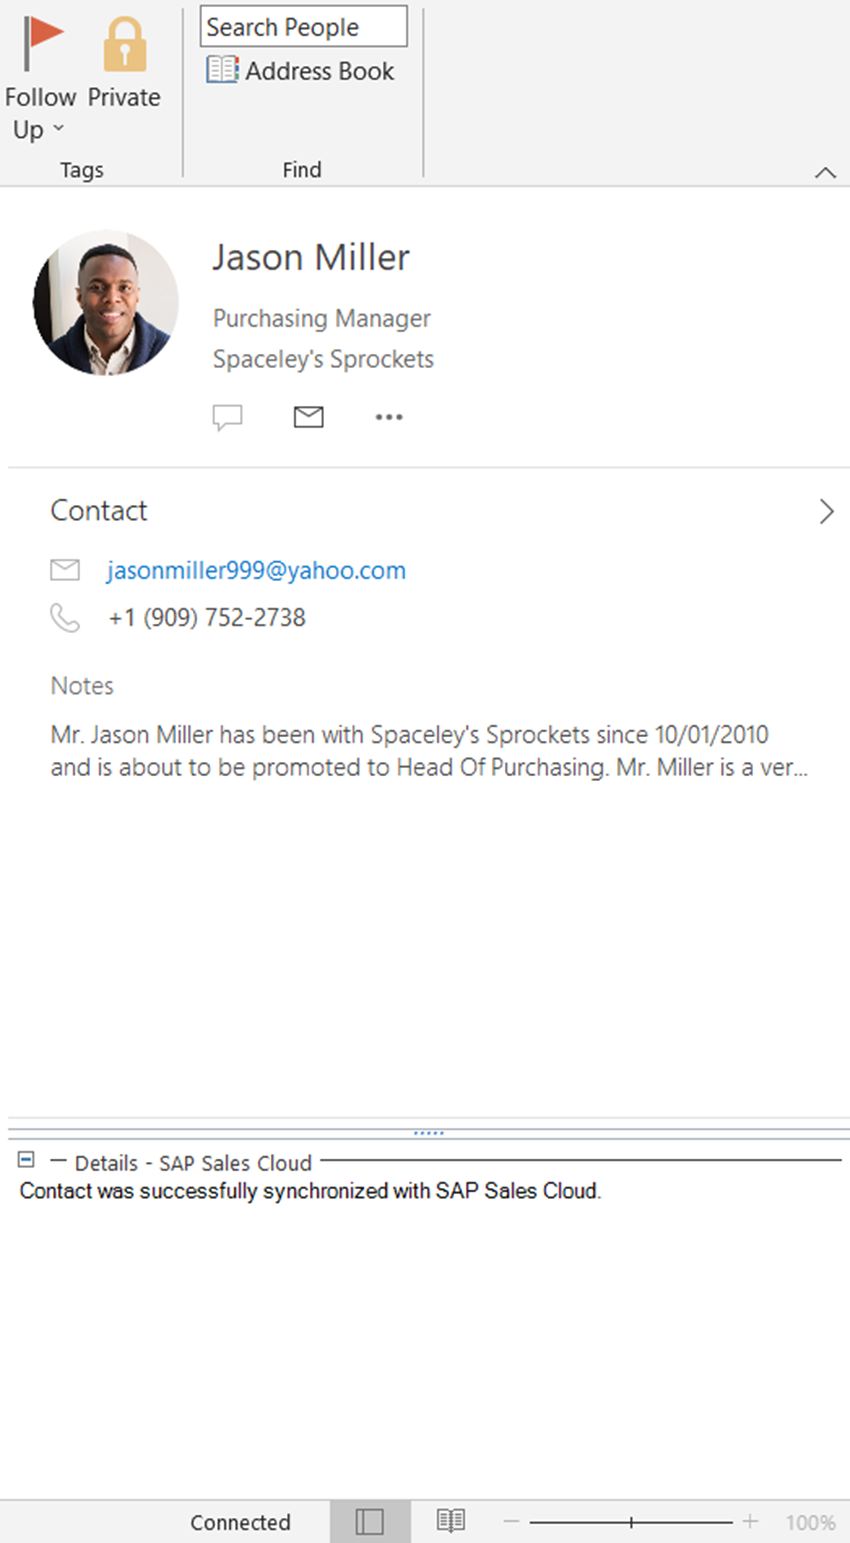
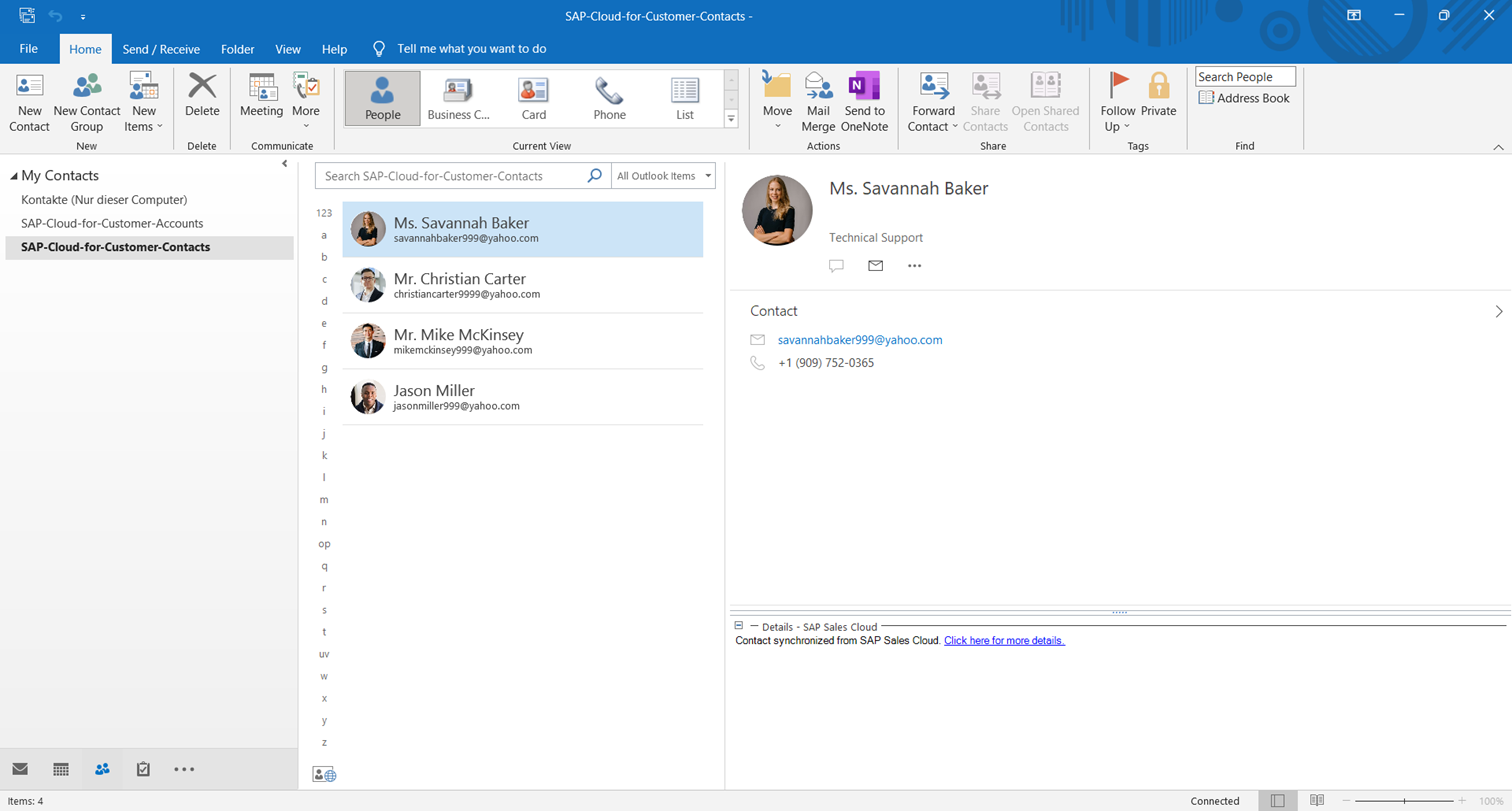
As already described, you can define in the settings to which folders the contact persons and customers should be synchronized. You can find these folders in the People ![]() area – bottom left – in your Outlook. The following figures show you the content of these folders as an example:
area – bottom left – in your Outlook. The following figures show you the content of these folders as an example:
Folder for Contact Persons: