The Data Workbench offers a function to update already existing objects. This is a very useful tool, especially when a large number of records has to be updated.
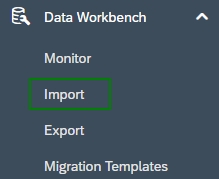
To find the Update function, head over to the Import Work Center View of the Data Workbench Work Center.
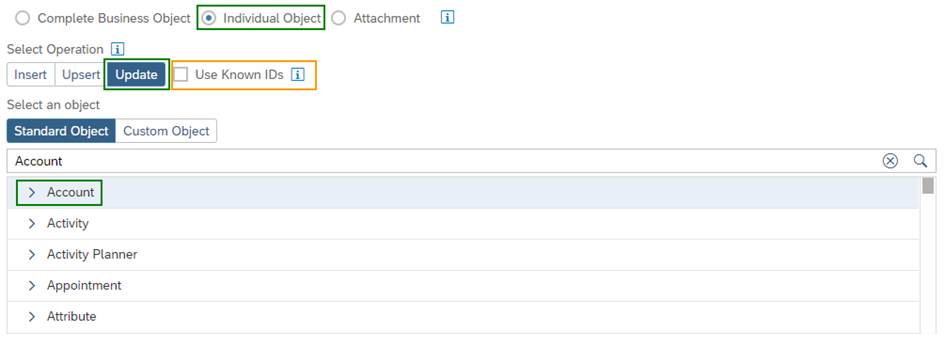
It’s only possible to use the Update Operation, when Individual Object is selected. To get a better understanding of the Update operation the example of an Account Update will be used in this article.
To be able to update an object, it is necessary to use an individual key that uniquely describes the object. are two possibilities which key can be used for the upload. The first one is the AccountID, to use it put a mark in the Use Known IDs checkbox. It might be simpler to use the AccountID, because it is very easy to find in the system (located in every account) and the ObjectID is only a database key. In case this checkbox this checkbox is not selected, the ObjectID will be required. This works the same way for other objects, like Opportunities or Sales Quotes.
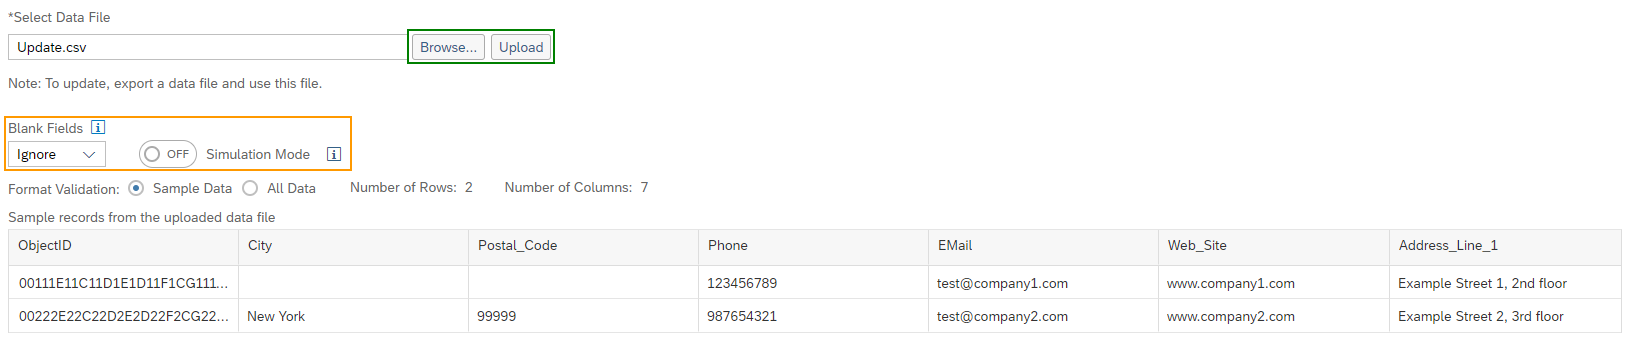
Next up a CSV file has to be created, containing the information to be uploaded. For that an exported CSV file can serve as a basis. Throw out all records and/ or columns, which shouldn’t be updated, change the information in the file and save it again in the CSV format (UTF-8 Coding). Regarding fields left blank, the default setting is that they will be ignored. In case this is not wanted, change it to Update via the dropdown-list under Blank Fields. Make sure to turn off the Simulation Mode and Import the file by using the Browse and Upload Buttons. Check the overview table for any mistakes and once this has been done move on by clicking Next in the bottom right of the screen.
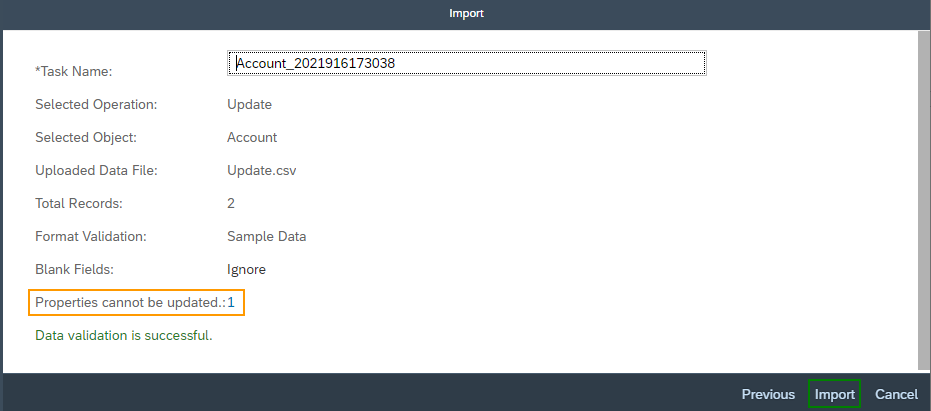
At last have a look at the overview screen. The one property, which can’t be updated, is the ObjectID. So as long as only the key is the only property here, there is no issue and the Update can be started by clicking the Import button.
Head over to the Monitor and wait for the Update to finish, then check for any errors or warnings.
Do you need consulting from our experts?
The Customer Experience team at Camelot ITLab deals with exciting and challenging CRM related topics every day and serves a large portfolio of different customers from a wide range of industries. Trust in this collaboration and feel free to contact us at tlil@camelot-itlab.com.
Was this article helpful?
If you like our content we would highly appreciate your review on Trustpilot