This article explains how to create new objects by using the Data Workbench. This can be very useful when a large number of new records are to be transferred into the SAP Sales Cloud.
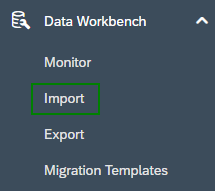
To get started move to the Work Center View Import in the Data Workbench Work Center.
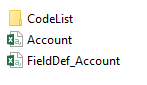
In the next screen first off all select Individual Object. Regarding the Operation, there are two fitting options here: Insert and Upsert. Insert means, that Data with new external keys is created and existing data is rejected. Data with new external keys is created and existing data updated, when selecting Upsert. Insert is the default option here and suitable in most cases. Next choose the object (e.g. Account), this can be either a Standard or Custom Object, where you will find all customized objects (e.g. PDI Solutions). Once the object is selected there will be a ZIP-folder available for download, which contains a folder with code lists, a CSV file which contains all fieldnames contained in the selected object and another CSV file which contains definitions for the fields contained in the other CSV file.
A template for the import can be selected here, in case it exists one. Move on by clicking the Next button. Overall, the settings should look something like this:
After this, the CSV file has to be uploaded by using the Browse and Upload buttons. This CSV has to include all fields, which are mandatory to create a new account (this may differ from company to company) plus optional fields for specific requirements. The CSV file has to be in UTF-8 coding. In case excel doesn’t save the CSV in UTF-8 right away, this can be done by opening the excel file in Editor and then saving it again in UTF-8. The finished CSV could look a little like this:
Regarding the creation of such a file it is important to know the keys for specific values in certain fields. Looking at the screenshot above: the code BUP002 in the role column is the key for the value Prospect. After uploading the file make sure to set the Initial Load to ON, because this reduces errors during the initial migration. Also turn the Simulation Mode OFF. Once the file has been uploaded, some sample data will be shown in a table. It’s also possible to show all records from the file by selecting the Checkbox All Data. There’s also some basic information given about the file: the number of rows and the number of columns. Check this table for any mistakes and continue the process by again clicking Next.
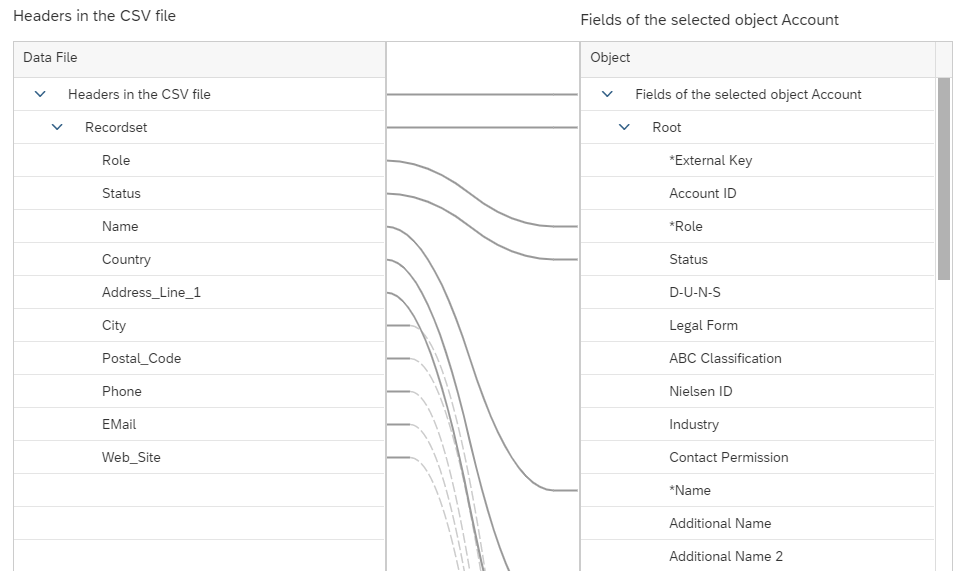
Check the mapping from the headers in the CSV file to fields of the selected object. All by lines connected columns were automatically mapped, because the correct headers were used in the CSV file. This might not be the case for all columns, then these have to be connected to each other manually. All columns on the left should be connected to a column on the right. Click Next in the bottom right to continue.
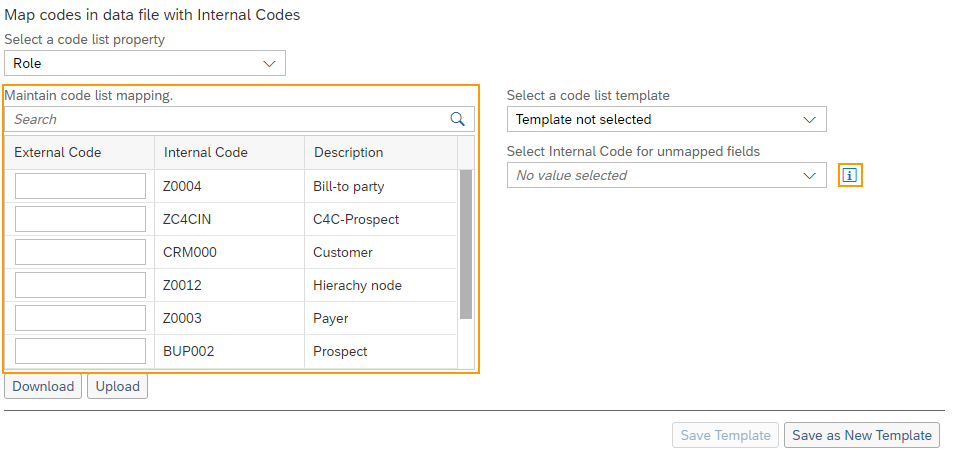
The next screen revolves around code mapping and can usually be skipped. A code list property can be selected and the mapping can be maintained. Once again a template can be selected, this time a code list template and an internal code for unmapped fields can be chosen. This means, that a code is selected to replace values in the data file that are unmapped. The selections made can be saved as a template, please note that this template won’t be shown in the Migration Templates area. It will be saved as code list template and can only be selected in this specific screen.
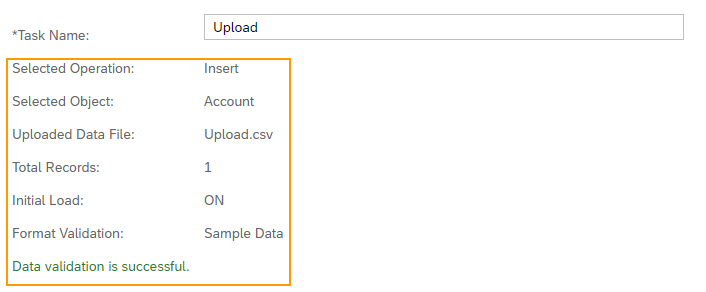
In the last screen insert a custom Task Name or just leave the auto-generated name. Check the displayed facts and finish the process by clicking the Import button, if the data validation was successful.
After the Import has been started head over to the Monitor Work Center View and wait for it to finish. Check for any warnings and errors and correct them, in case some errors occur.
Was this article helpful?
If you like our content we would highly appreciate your review on Trustpilot